Everything You Need to Know About Night Photography
Night photography allows you to see something that your eye can't. This is why it's so interesting! Learning how to take night photos is simple if you follow these simple steps.
This article may contain affiliate links. We earn a small commission when you purchase via those links — at no extra cost to you. It's only us (Becca & Dan) working on this website, so we value your support! Read our privacy policy and learn more about us.
Night photography is one of my favorite genres of photography. I like that it allows you to capture something that you’re unable to see with the human eye. Whether you’re shooting stars, light trails or any other type of long exposure, I’ll show you the steps you need to take amazing night photos. For planning your shoots, use our sunrise and sunset calculator to know exactly when the sun will set so you can plan for the transition from golden hour to blue hour to night photography.
The ground rules for taking photos at night is the same for any genre. You need a fast lens (typically an aperture at f/2.8 or lower), a sturdy tripod or something to rest your camera on and a self-timer.
7 quick tips and tricks for night photography
- Get a good tripod. Don’t have one? Find a study object to rest your camera on!
- Shoot in manual mode. You’ll get full control over your camera. If you’re not comfortable with manual mode, use aperture or shutter priority mode.
- Learn how to use your camera in the dark. If you don’t have a good light source with you, finding your buttons and settings can get tricky.
- Shoot in RAW. RAW image files contain more data than JPGs.
- Get a remote trigger. Taking a picture with a remote allows you be in a warm place if your camera is in a cold place.
- Set your camera to f/16. If you’re shooting anything with small bright lights (like a city street with lamps), you’ll get stars in all of those lights.
- Back up your photos!. This tip isn’t exclusively for night photography, but for photography in general. Make sure you back up your photos to ensure that you don’t lose any of your data!
7 Different types of night photography
All types of photography are transferable into night photography. In addition to all of the standard photography genres, you’re able to shoot and play with light, capture the stars, get city light bokeh and so much more!
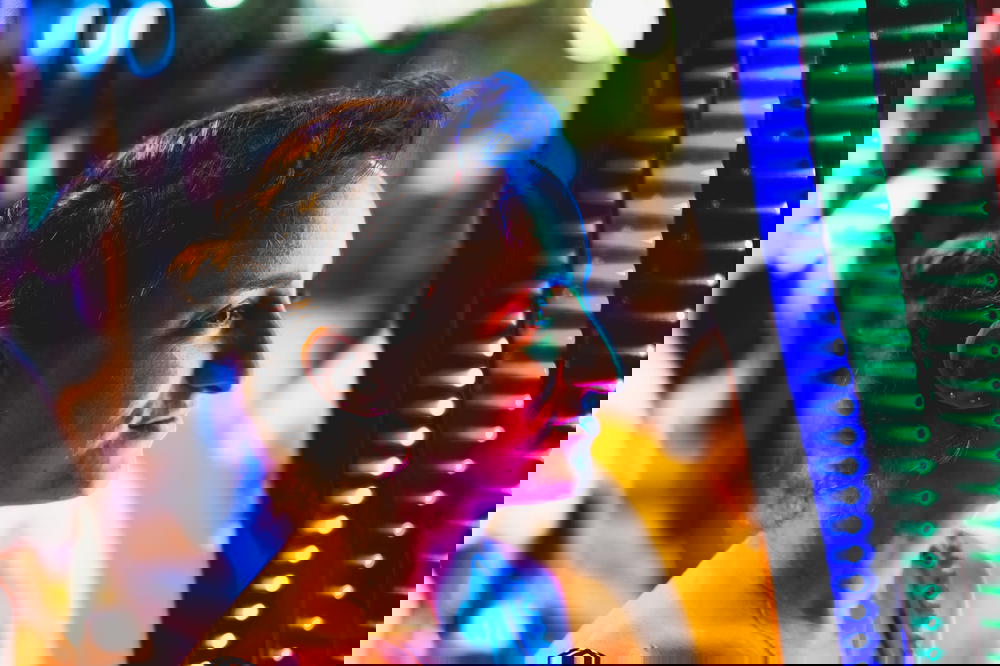
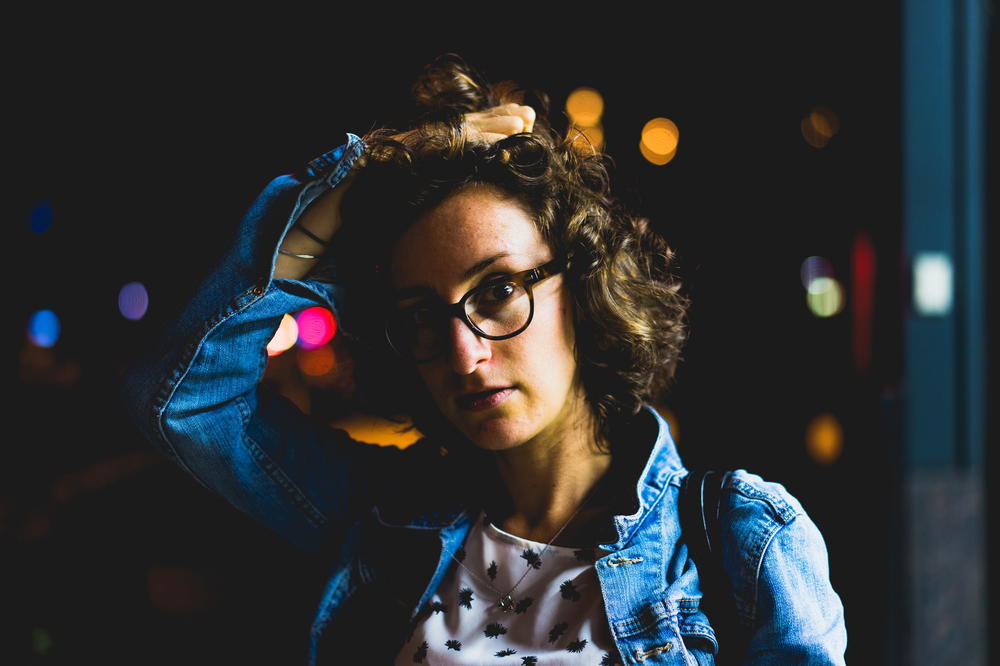
Night Portraits
All of the same rules of a great portrait still should apply when you shoot at night. Having an eye in focus, having even light on the subject and getting sharp details are what I look for in a daylight portrait. When I shoot a portrait at night, I use those same concepts, but those rules can be broken!
With night photography, you have the flexibility to play with alternative light sources, like an external flash, neon lights from a store front, lights from a car and more. I like to create silhouettes so that some of the background details come forward.
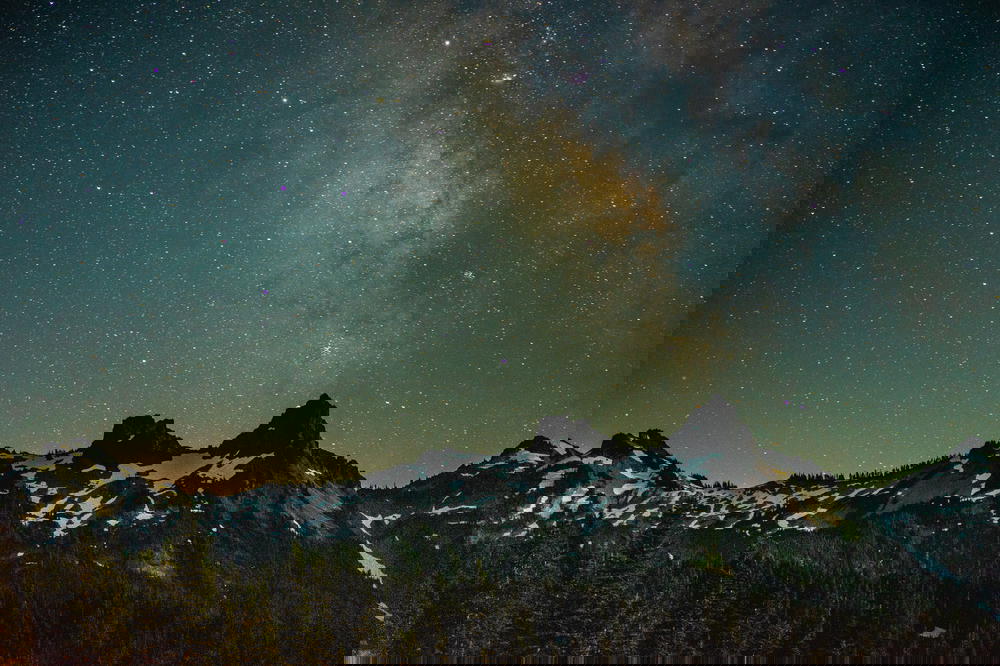
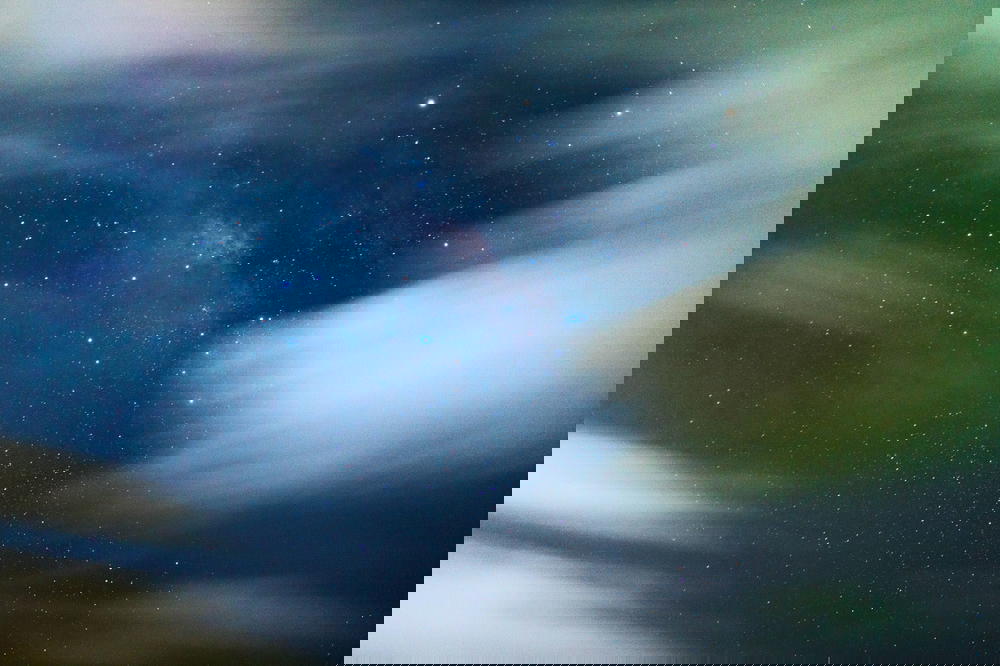
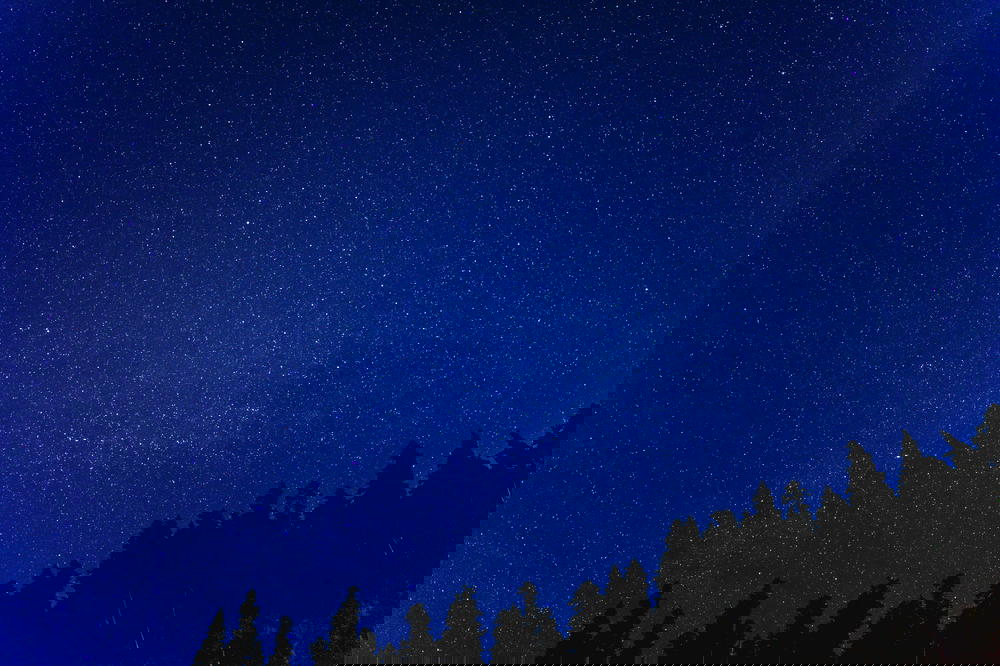
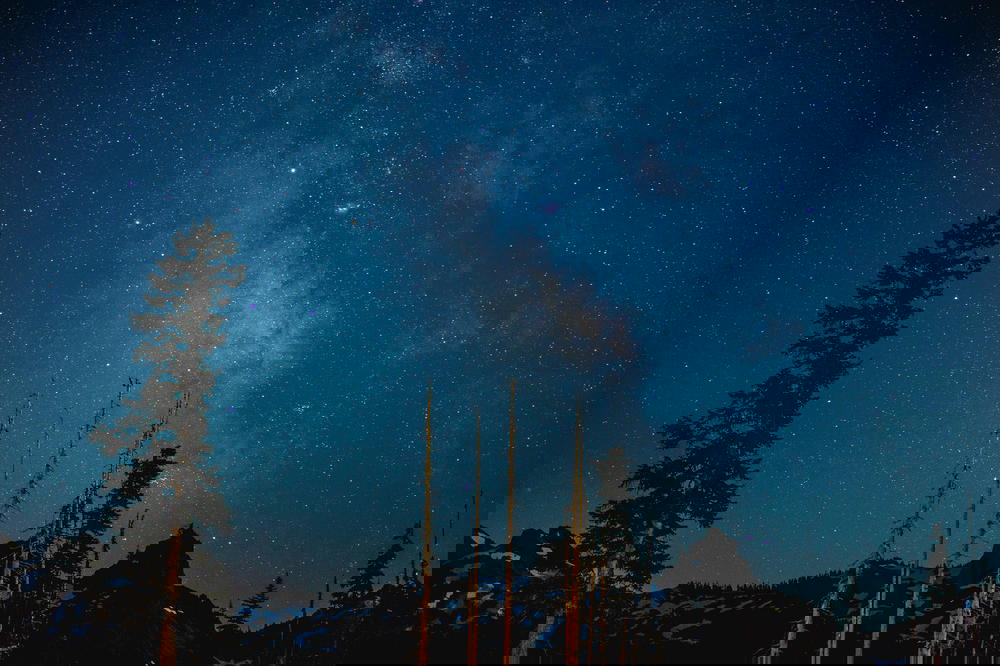
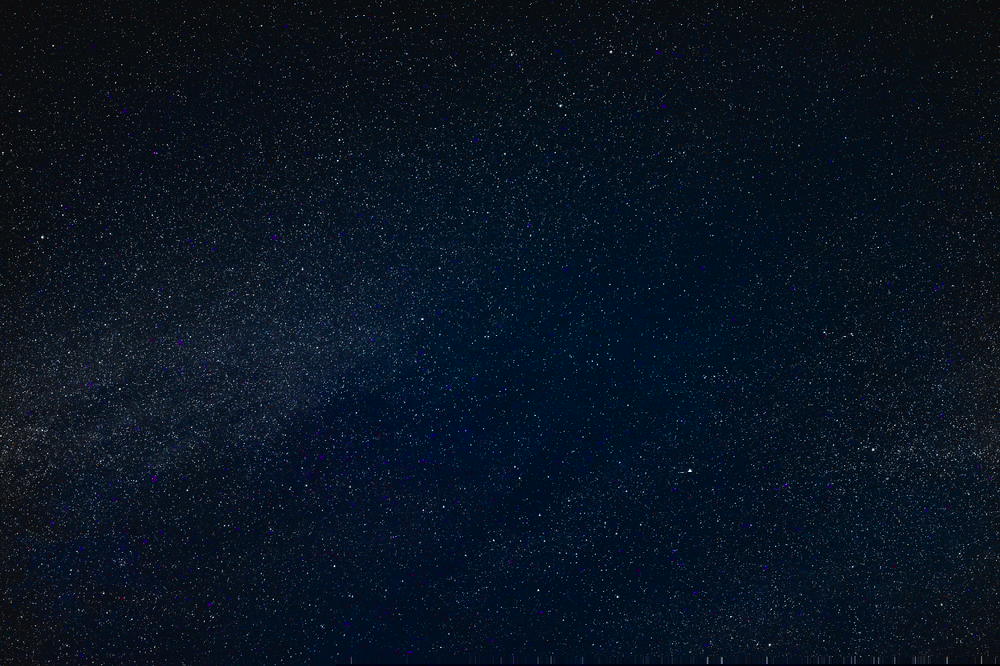
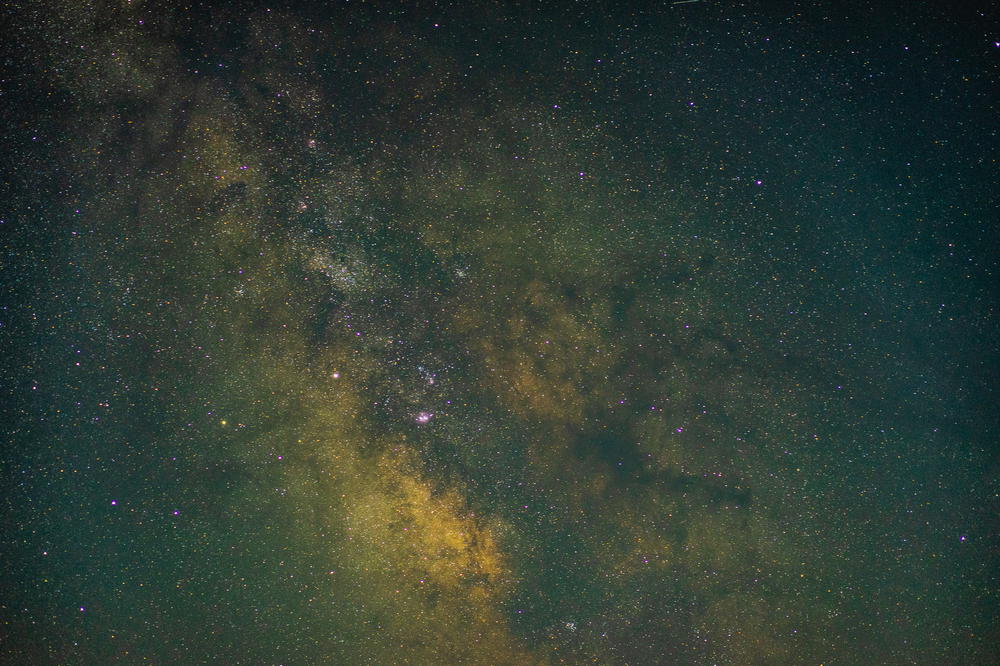
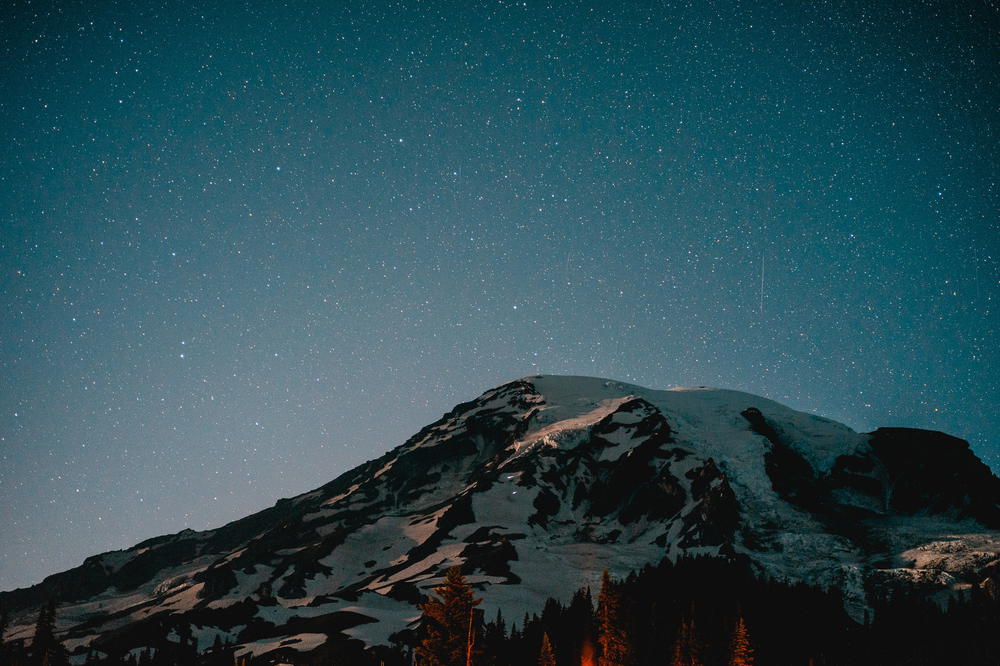
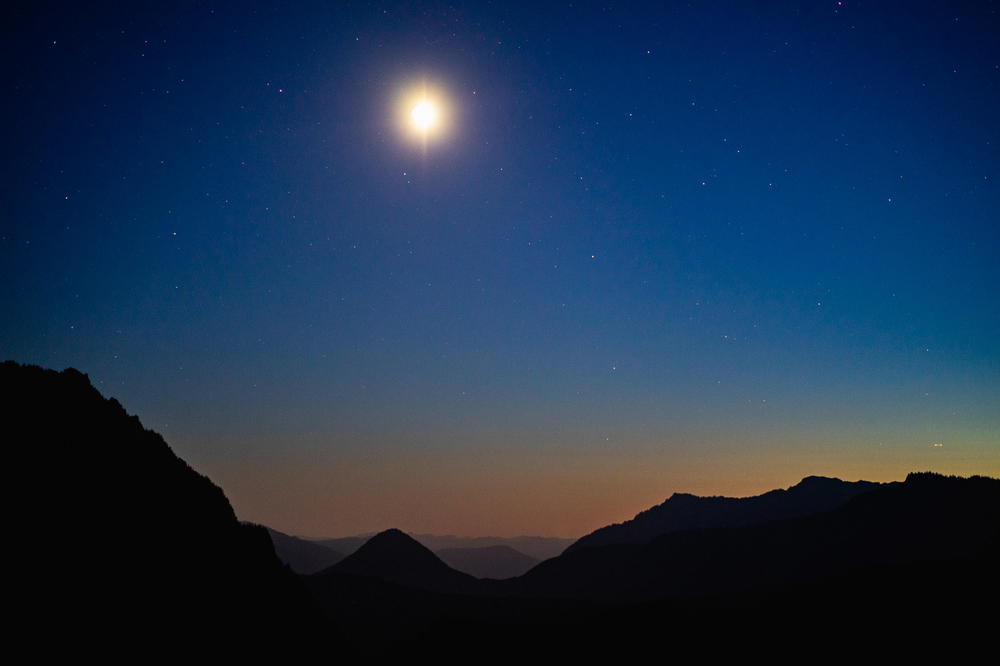
Astrophotography
Astrophotography is something that you can only do at night, although there are some places in the world that are so dark, that during sunset you can start to see the stars. Shooting the stars is the hardest thing to shoot at night. This is because your camera can see so many more things than your eye can. I’ll briefly outline some advice that I use when shooting the night sky.
- Set your camera to manual focus.
- Don’t trust the infinity mark on your lens when you focus.
- To focus the sky, pick the brightest star and focus until the star-dot is as small as possible.
- Use an external shutter release, or set your camera to self-timer mode.
- Use a sturdy tripod and secure the tripod with a heavy object, like your camera bag.
Setting up your exposure is also very complicated. At a high level, here are the steps that I take to expose the night sky.
- Set your camera to ISO 1600.
- Set your camera’s aperture as low as possible.
- Set your shutter to 5 seconds.
- Take a picture!
Look at the result after the 5s exposure is over. If your photo is too dark, add more time to the shutter speed until the exposure is right. If the photo is too bright, you can decrease the shutter speed until the exposure is right.
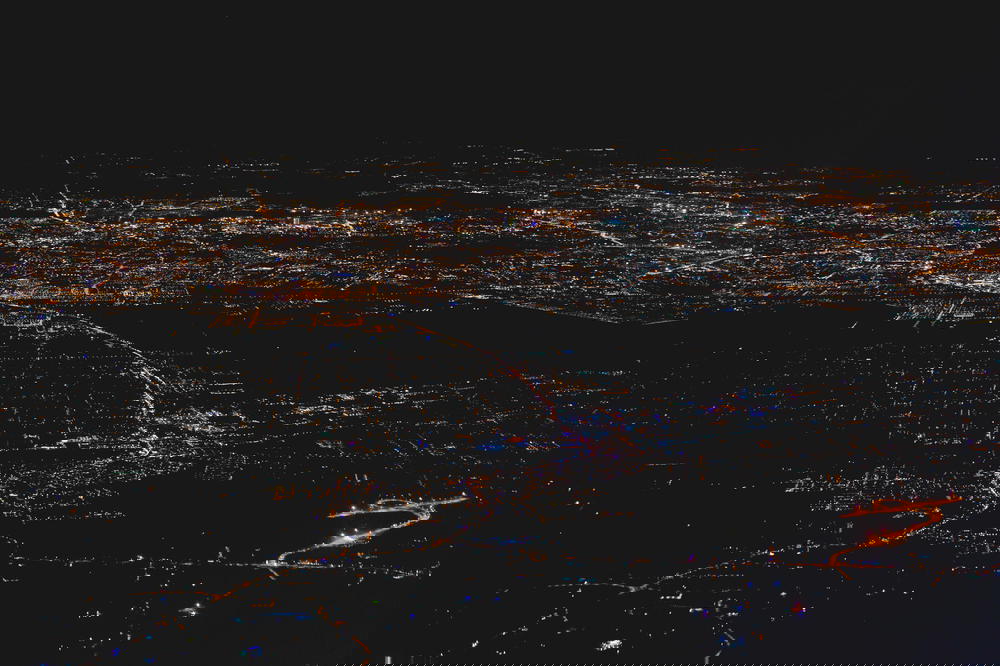
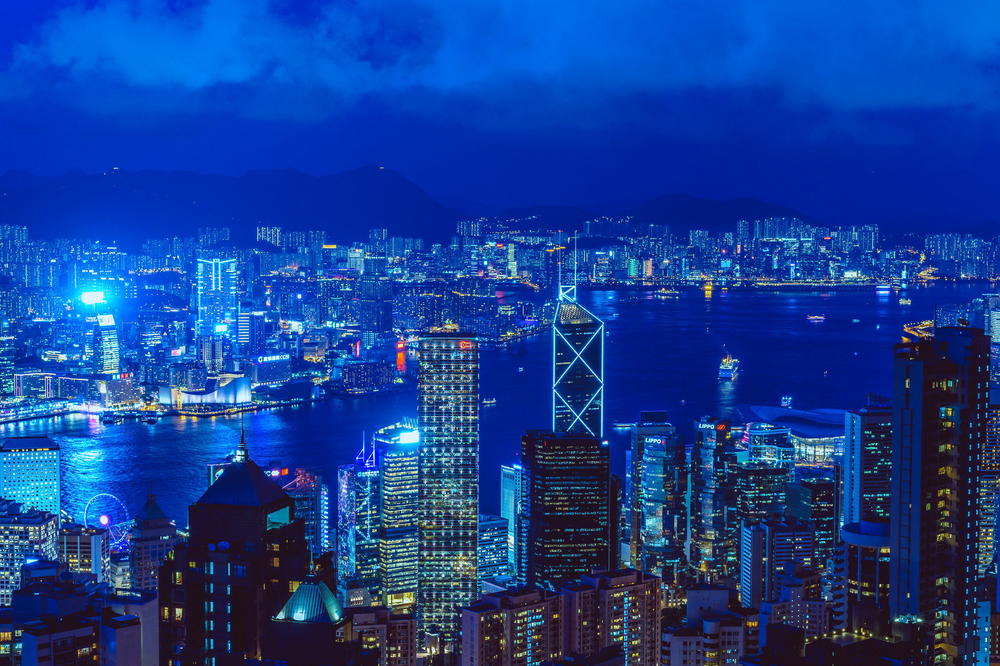
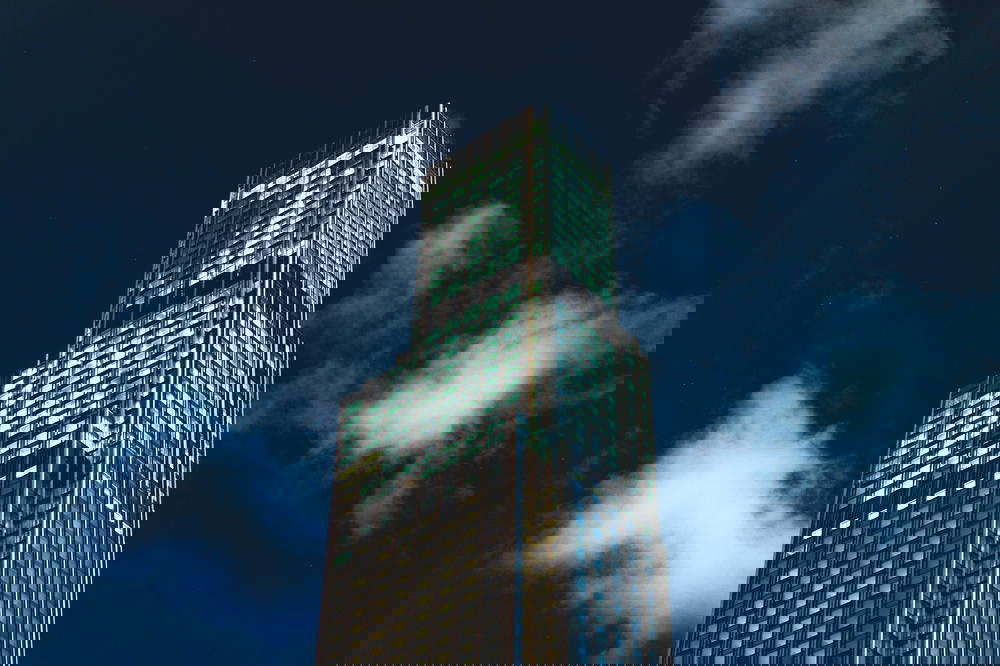
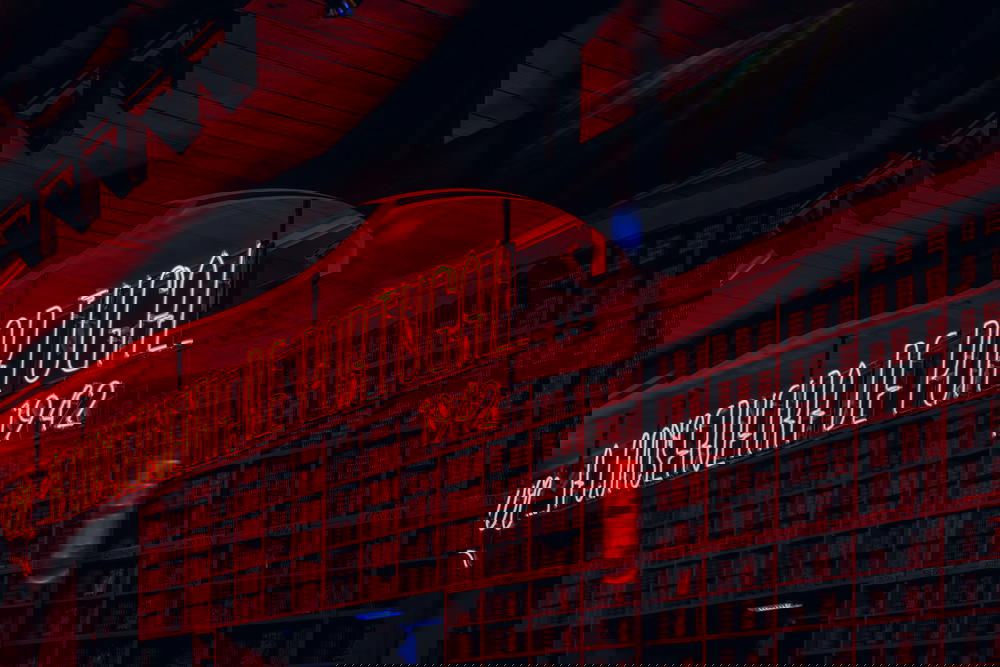
Night cityscape photography
Daytime cityscapes are great. You’re able to showcase your city as it normally looks. You’re most likely going to go out on a nice sunny day with blue skies and white puffy clouds. When the sun goes down, cities really come to life. All of the lights from the buildings paint new colors in the sky and give you some nice bokeh if you focus on a subject in front of some buildings.
You can also play around with your edits and produce some interest effects!
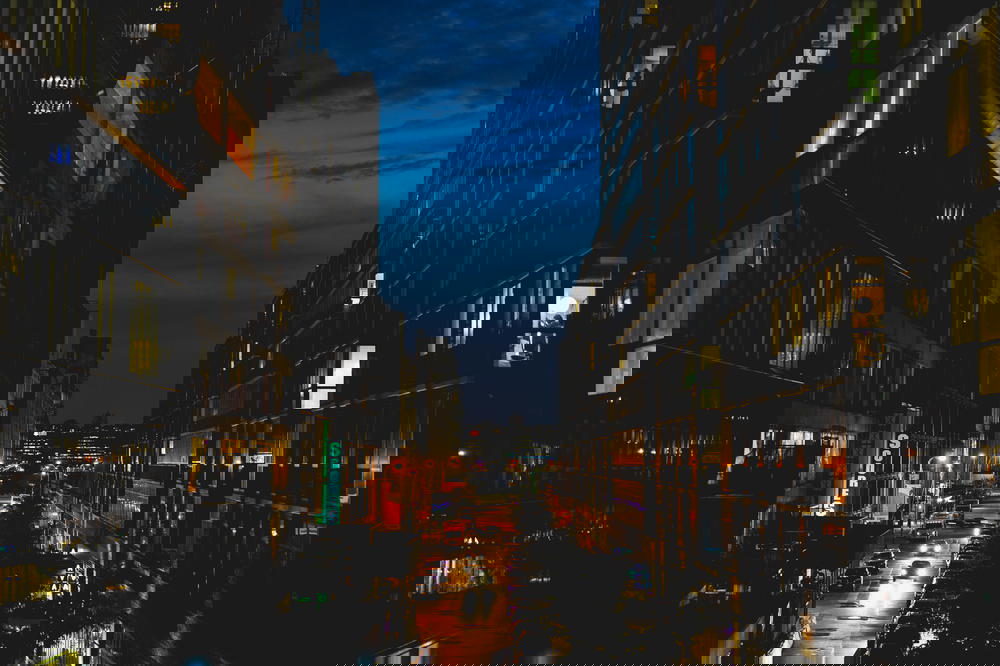
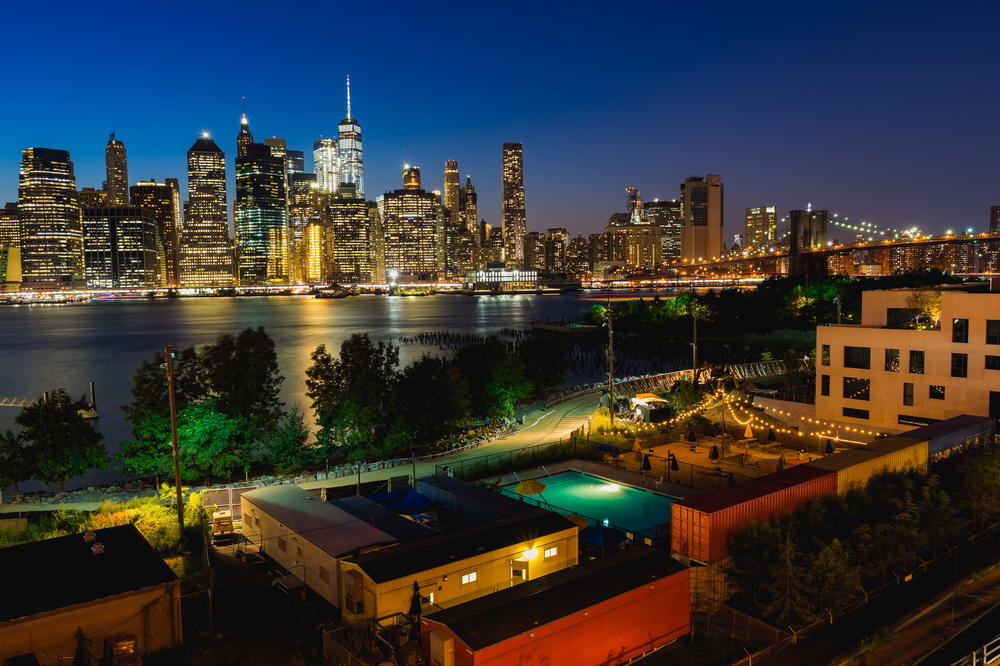
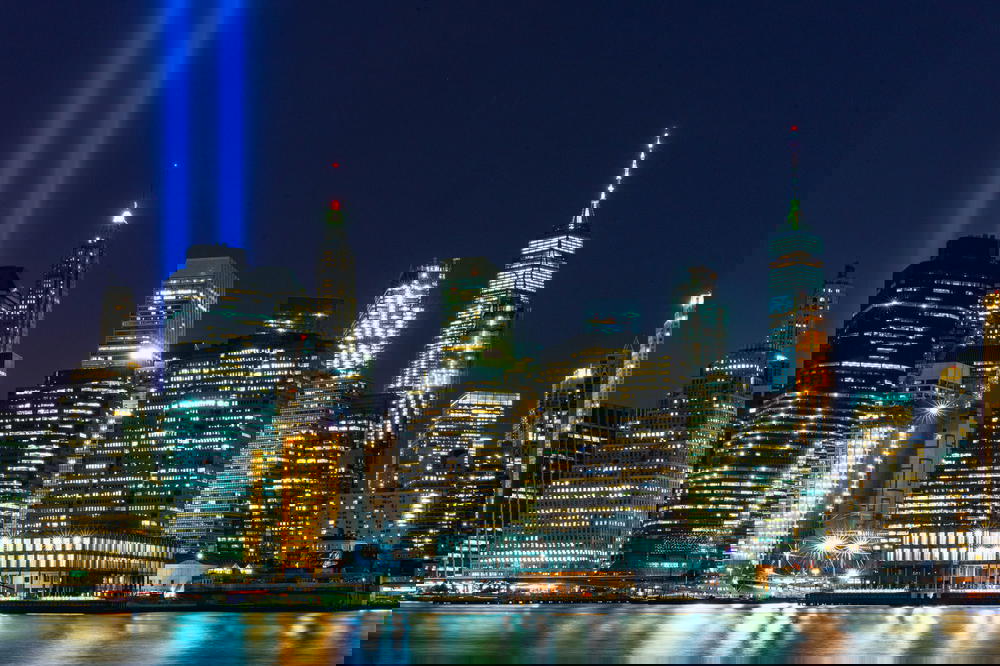
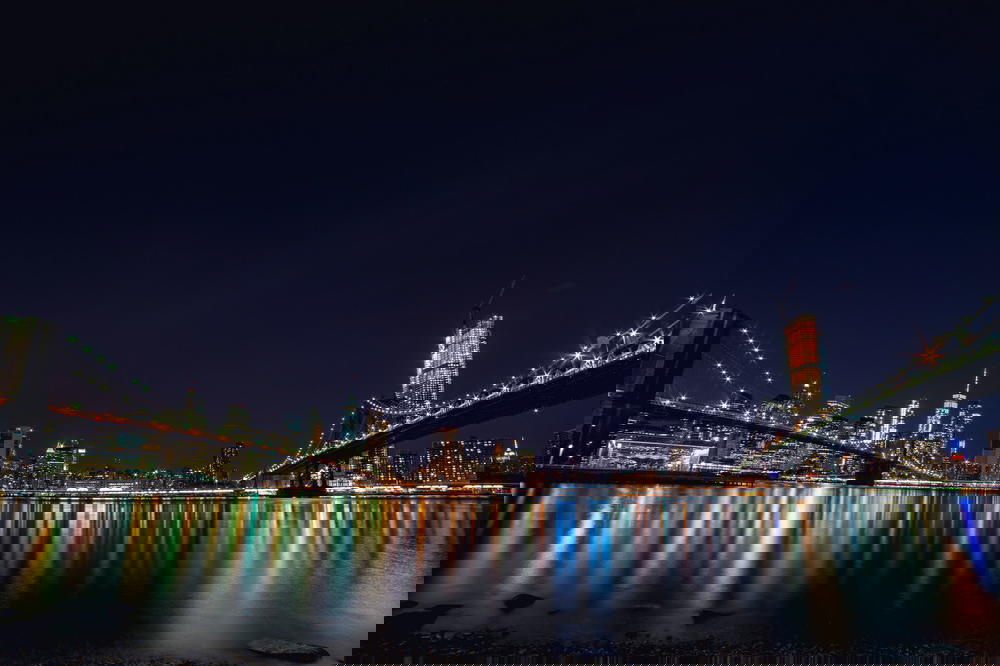


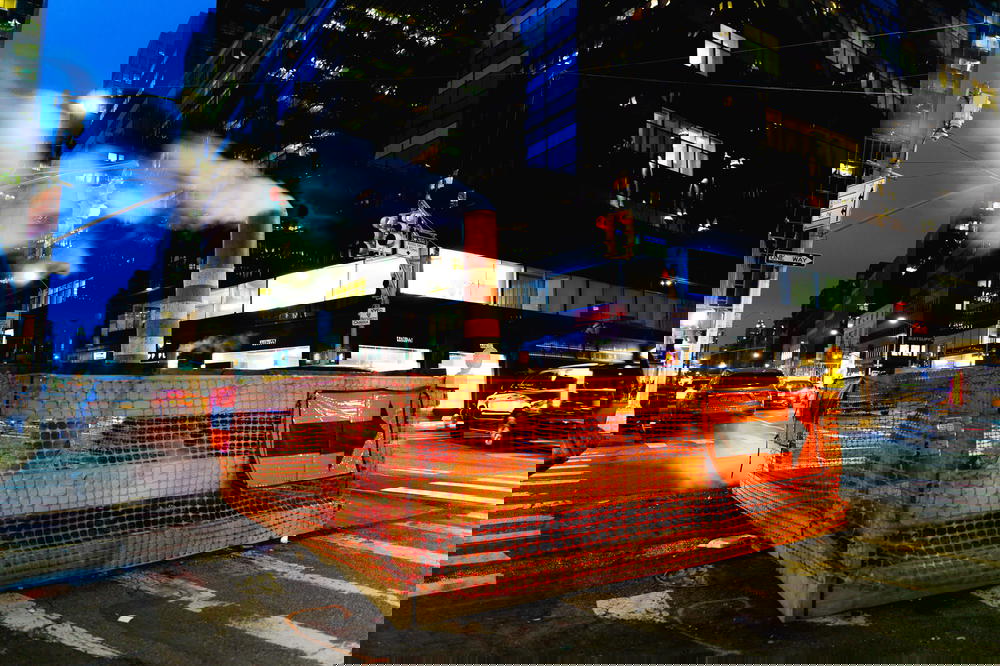
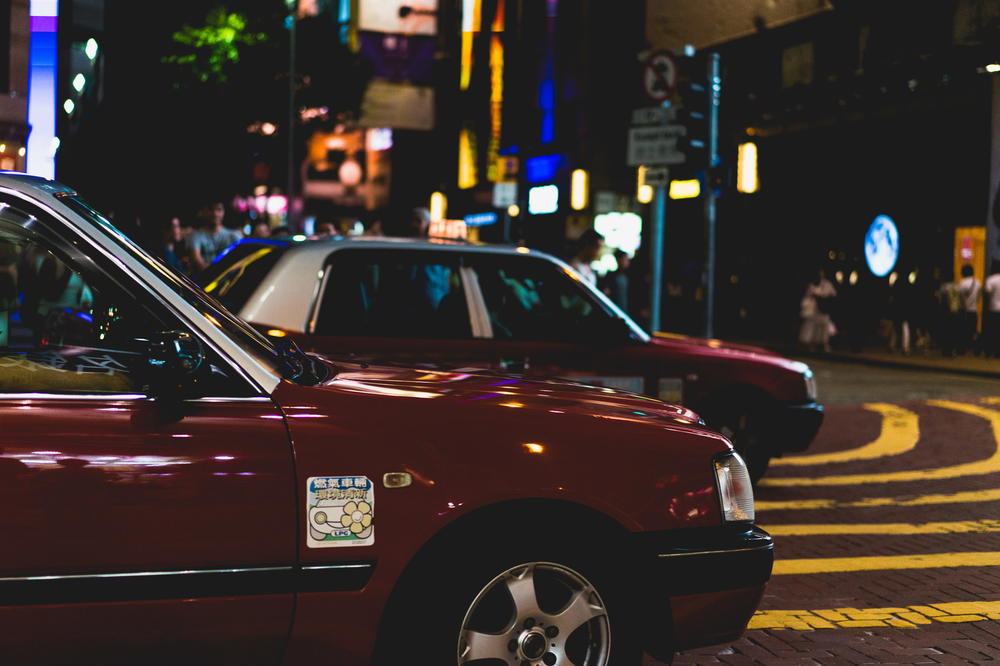
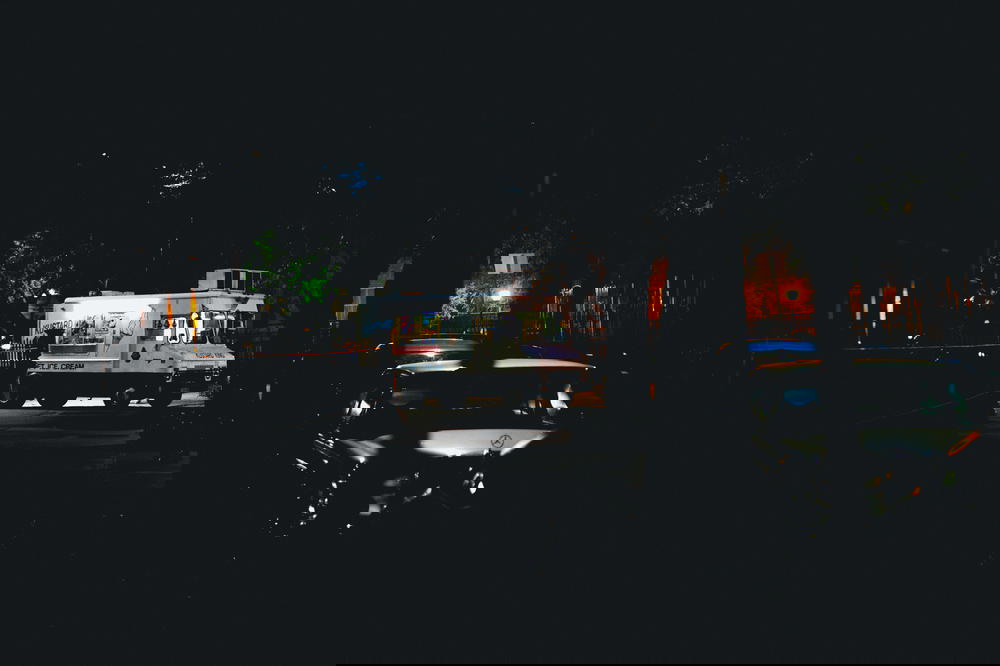
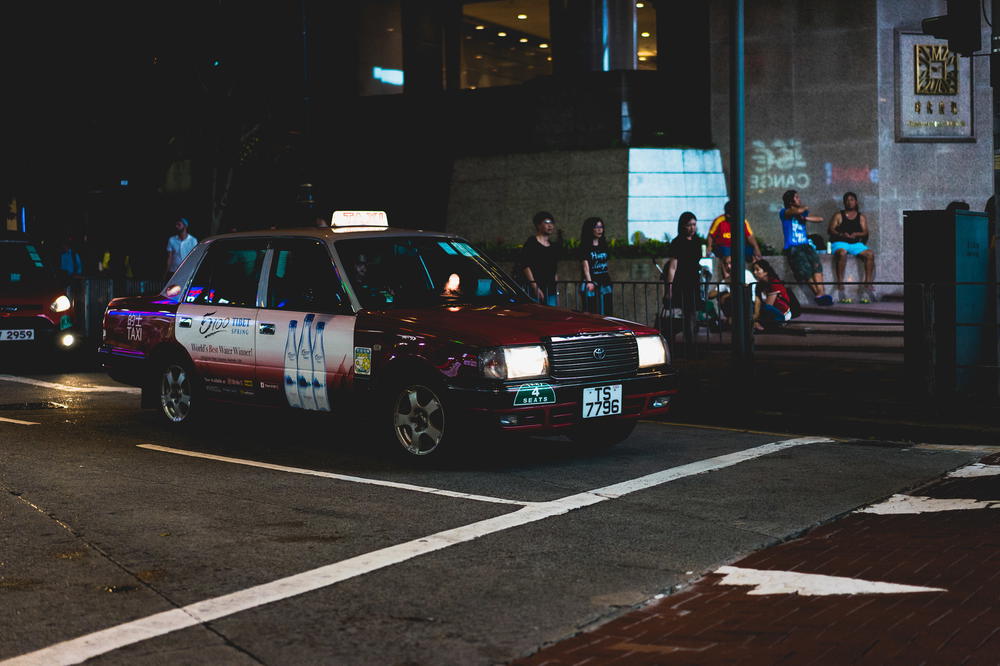
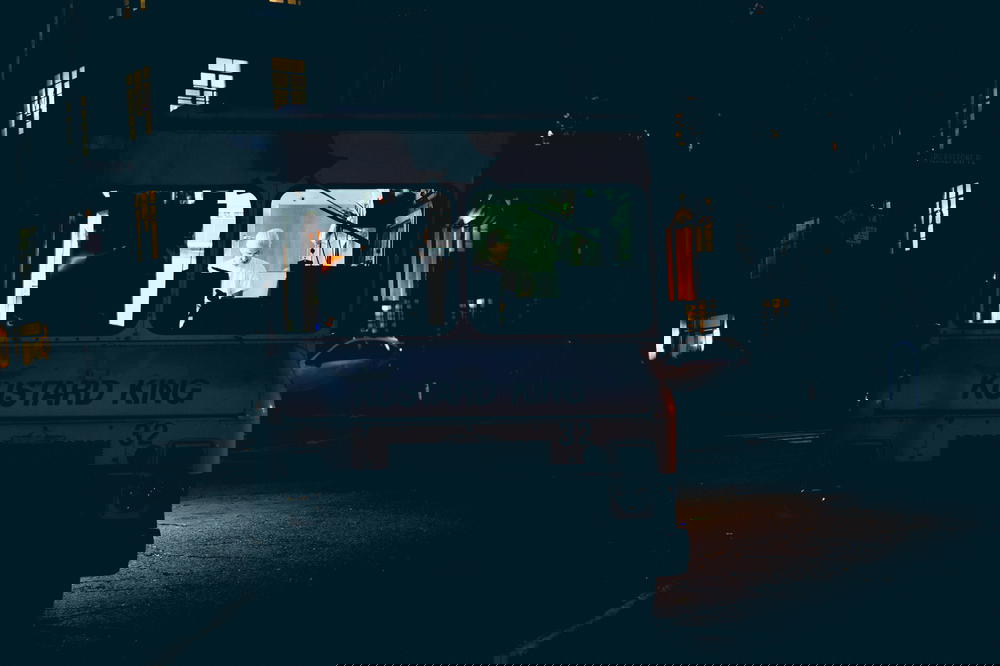
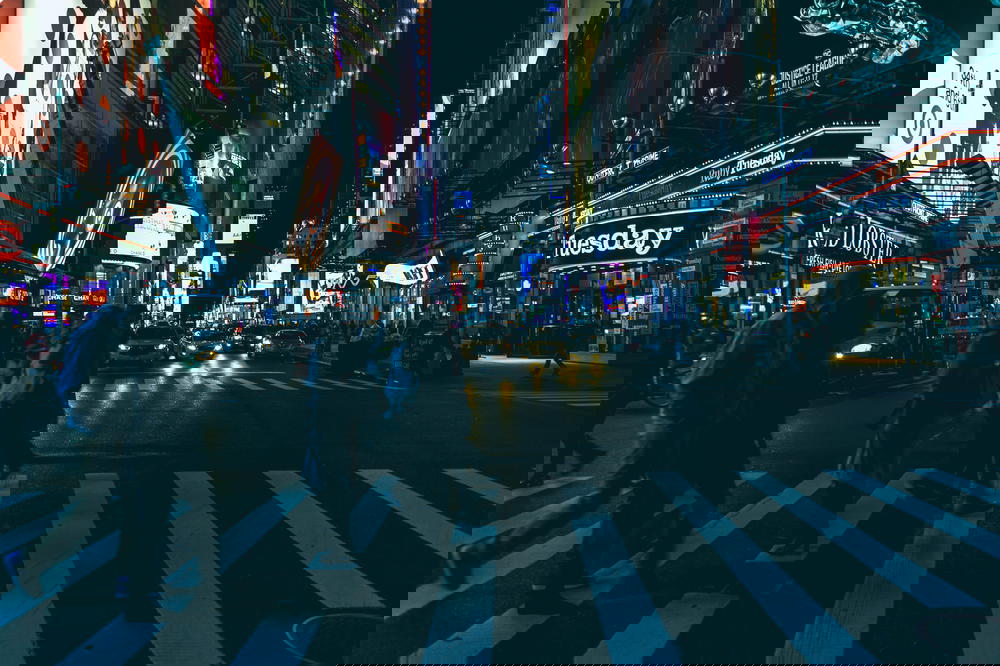
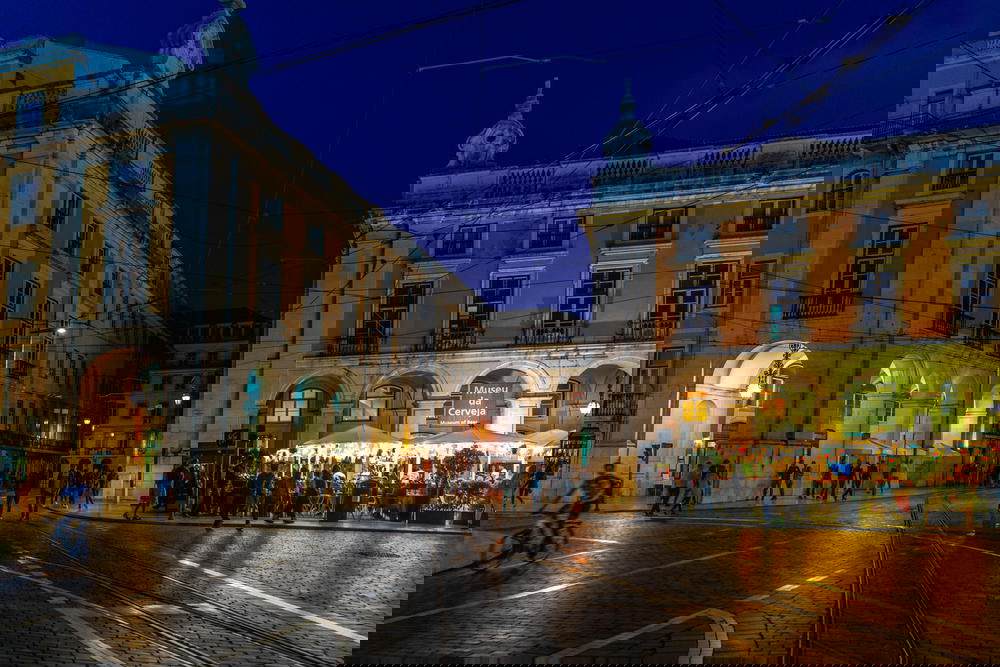
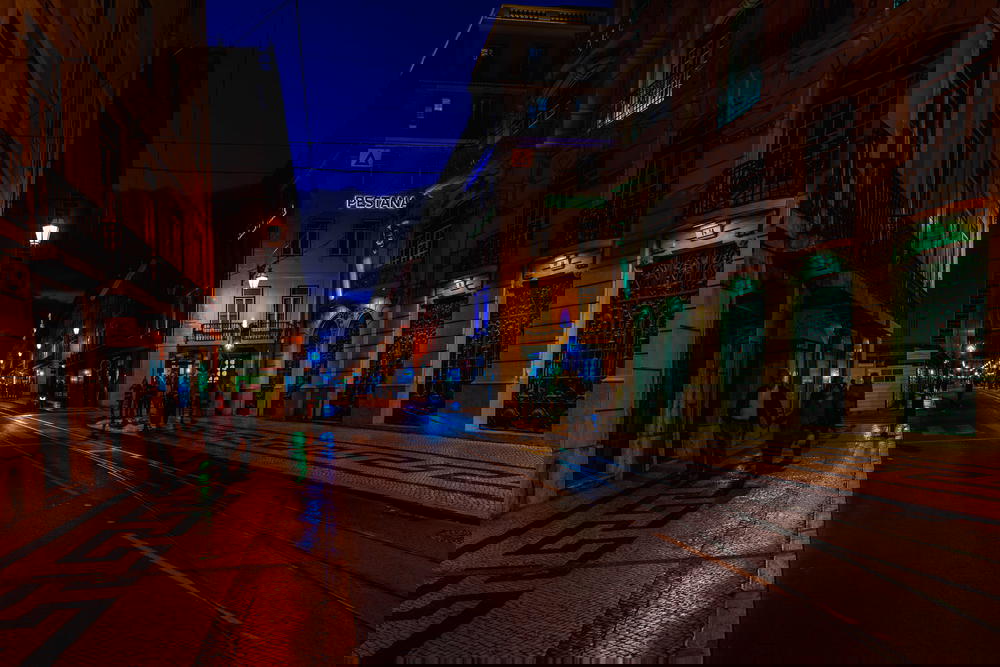
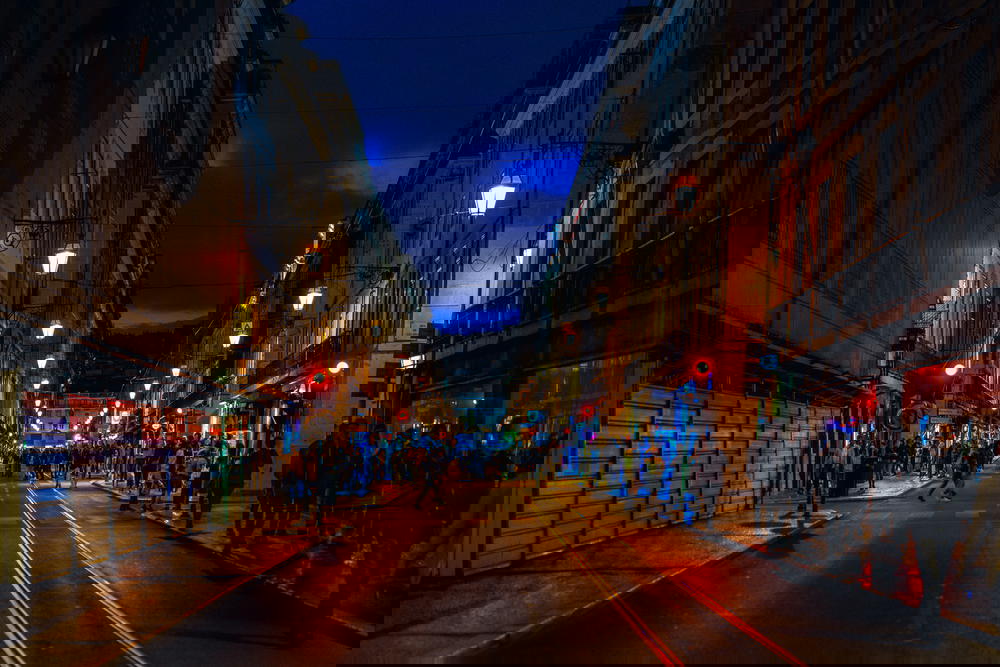
Street photography at night
Street photography is one of my favorite things to shoot. Because I used to live in New York City, I have hundreds, if not thousands, of street photos from Times Square and other parts of the city.
With all of those photos, my favorites are the night street photos. New York City really never sleeps. It’s alive at all hours of the night. To find some of these photo locations below for night photography, check out our list of photography spots in Brooklyn, NY.
The city also has the highest amount of lights that I’ve ever seen, second to Hong Kong.
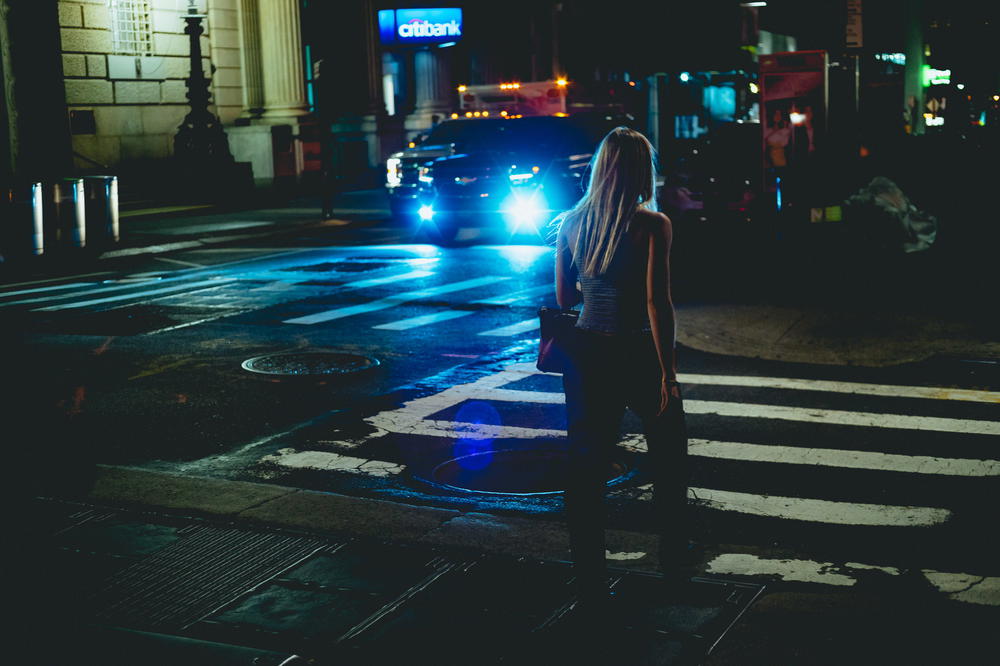
When you’re shooting street photos at night, there are a few things that you should know.
- Your shutter speed should be fast enough to freeze the motion.
- Worrying about a tripod will slow you down.
- Shoot wide open at f/2.8 or lower.
- Look for bright lights.
Landscape photography
Landscape photography truthfully is best during the day. The amount of compositions that you can frame are more than what you can do at night. If you want any contrast or details at night, you need a light source. When I shoot night landscapes, I use the moon. Because you will have a single-position light source, your compositions are limited.
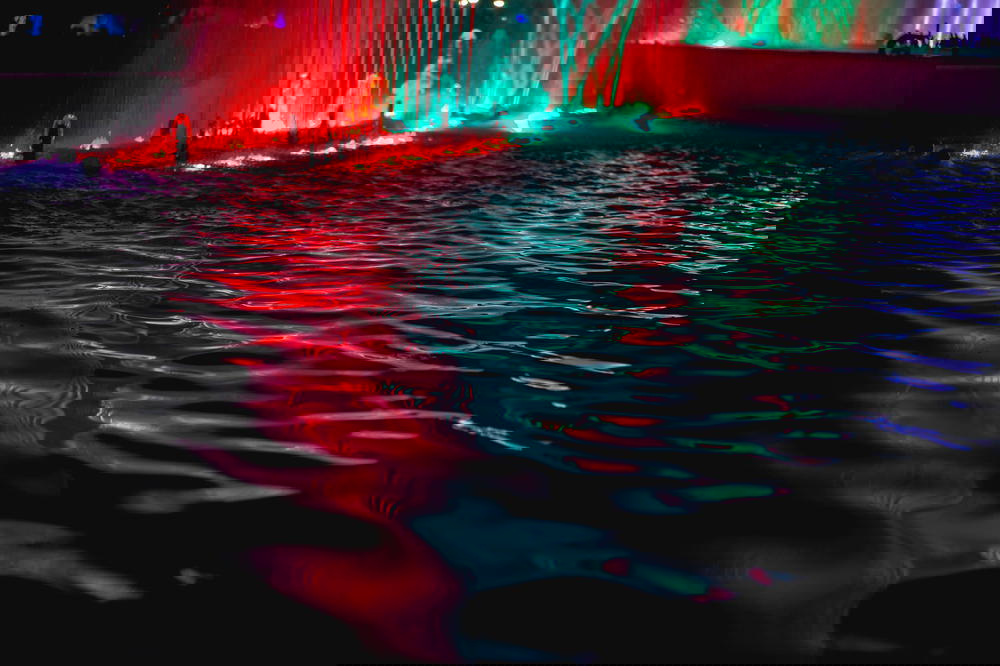
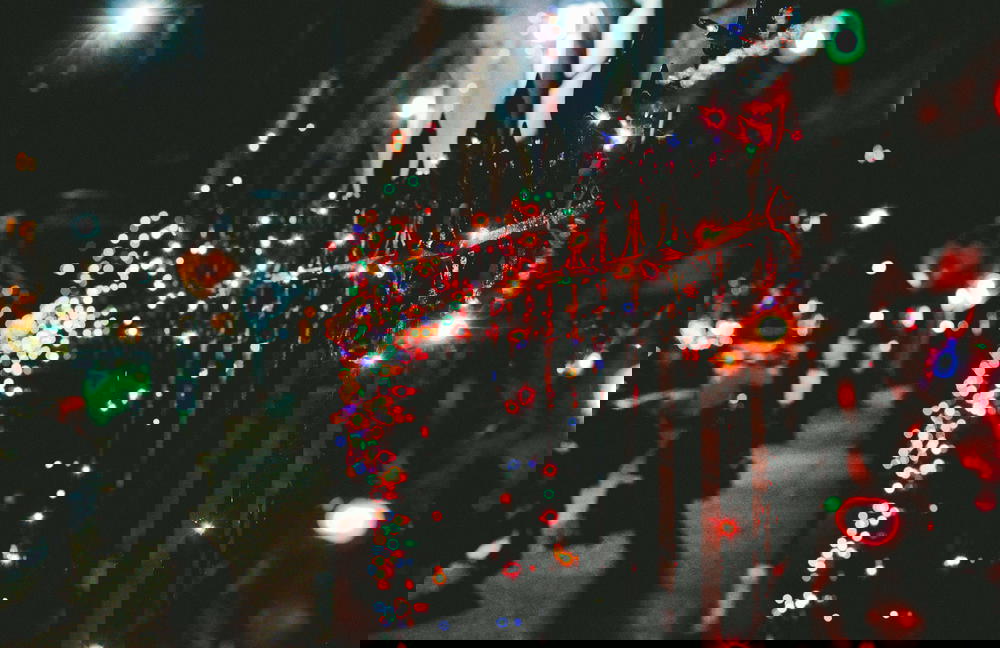
Light painting
What is light painting? Light painting can be achieved when you open your shutter and move light throughout the frame. The sensor will capture all of the light that moves and the photo will look as if someone painted with light.
You can get really creative when shooting light painting photos. You can spell out a word, a shape or a design! You can use different backgrounds or have a simple background. You can use light to paint in dark spots of a night landscape composition. The possibilities are endless!

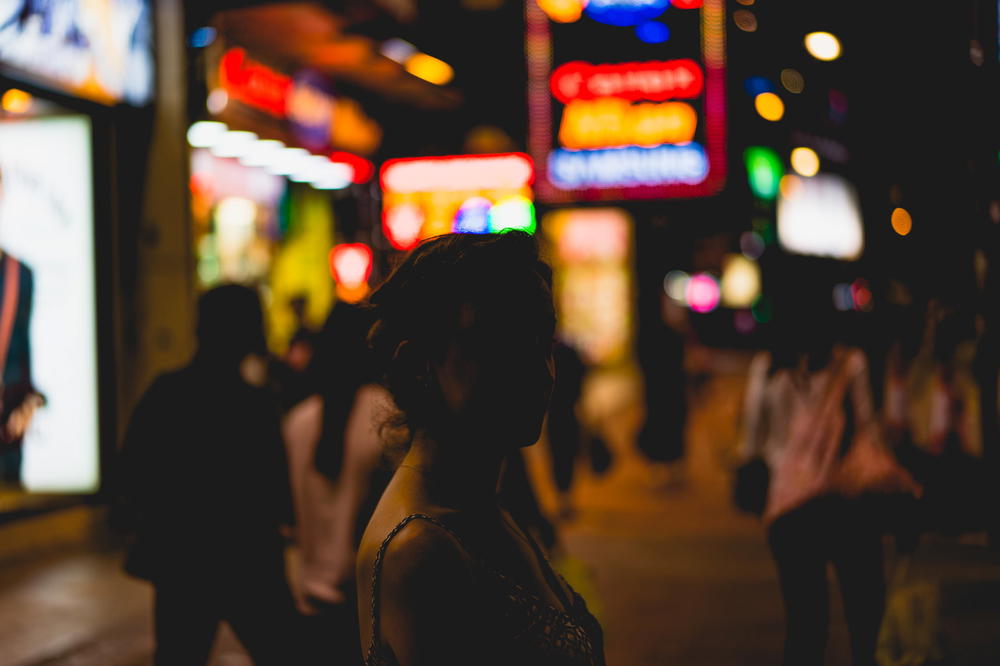
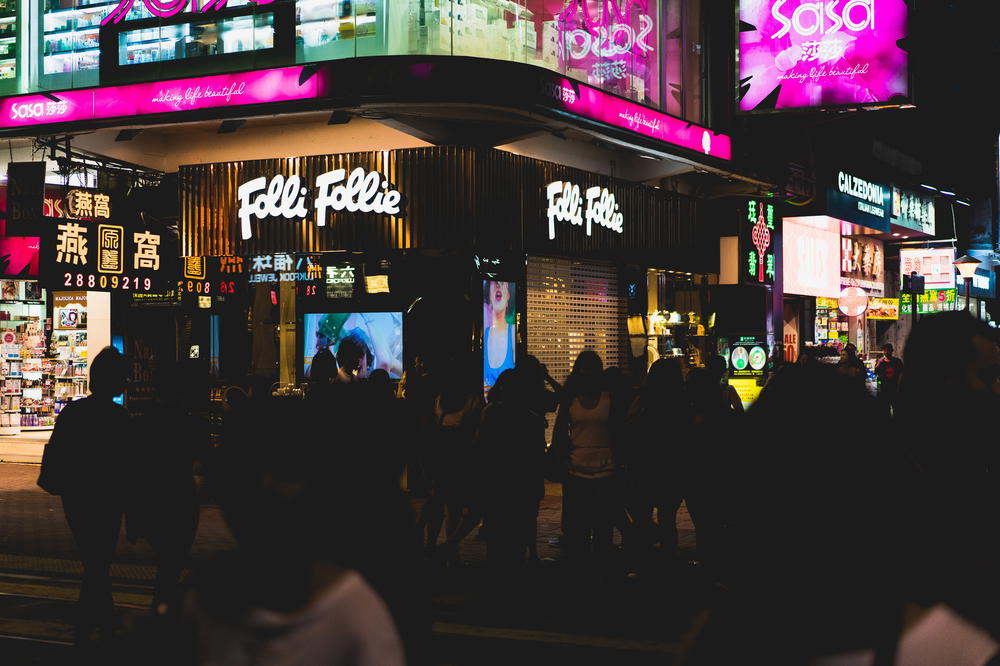
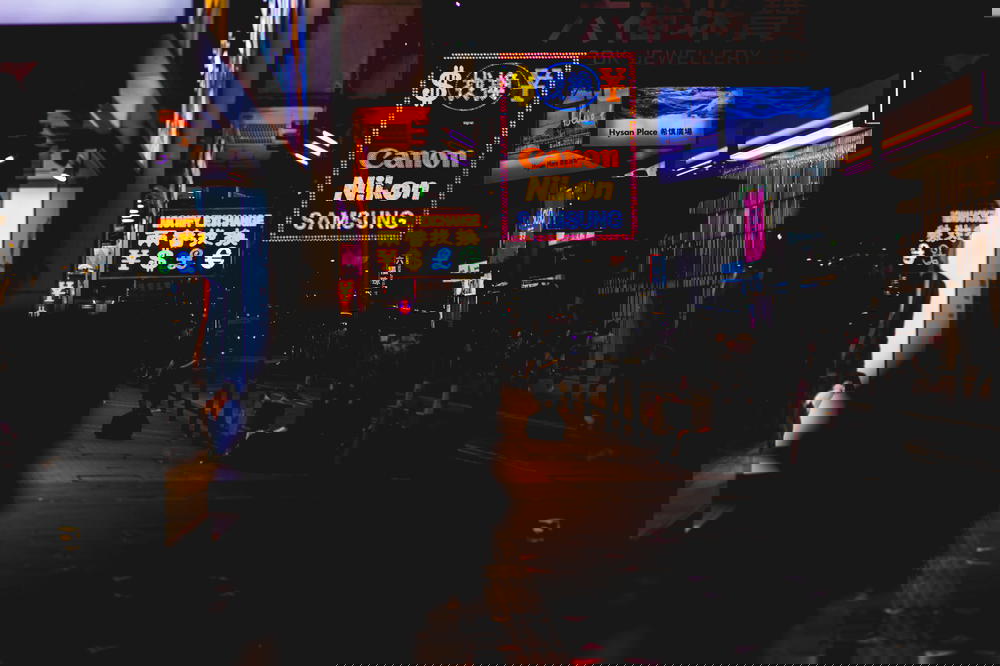
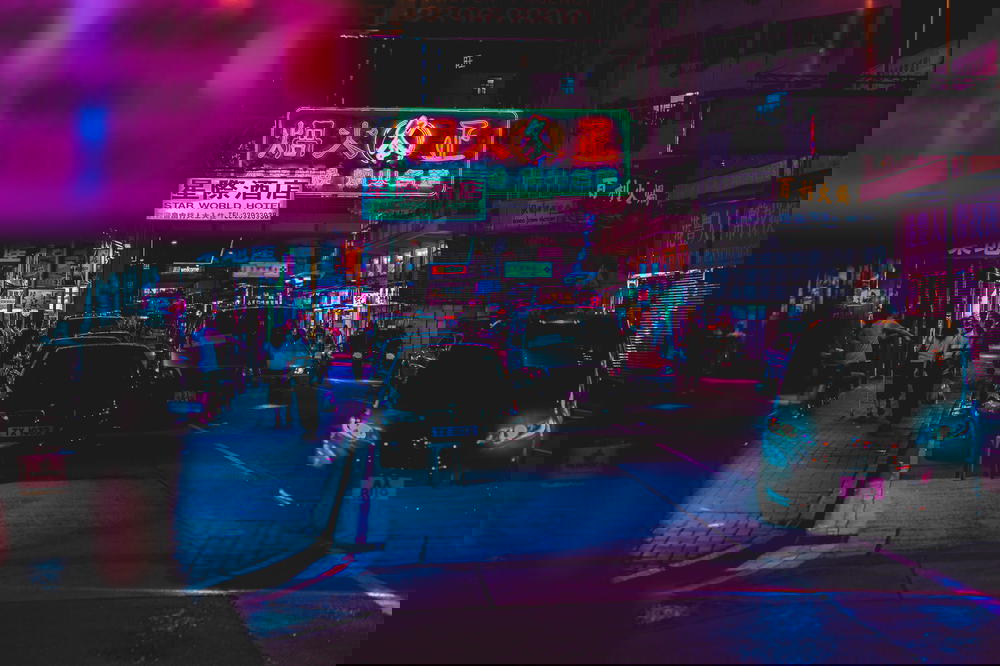
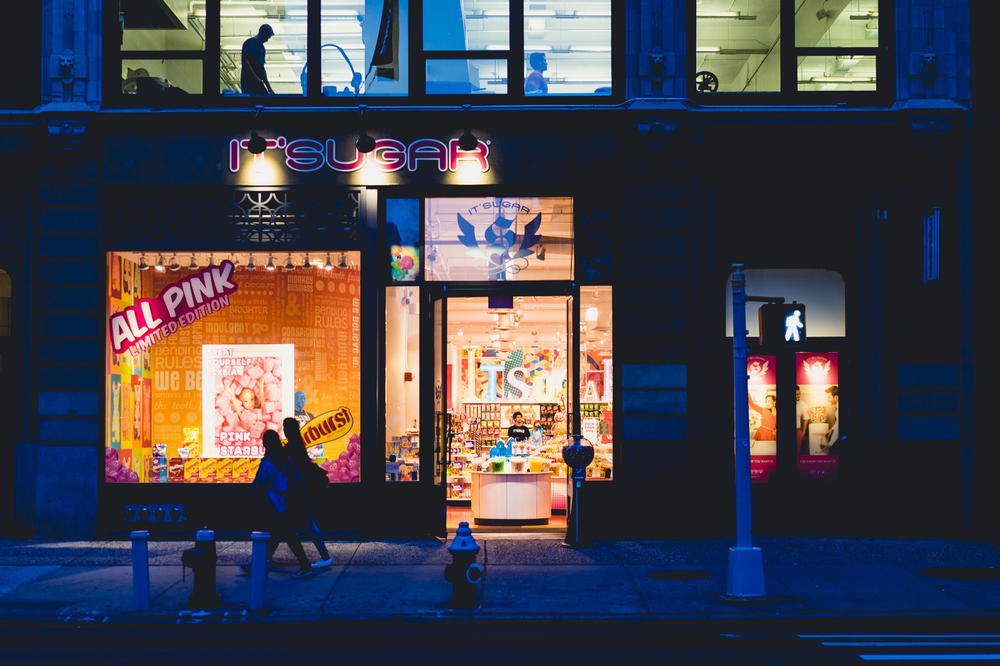
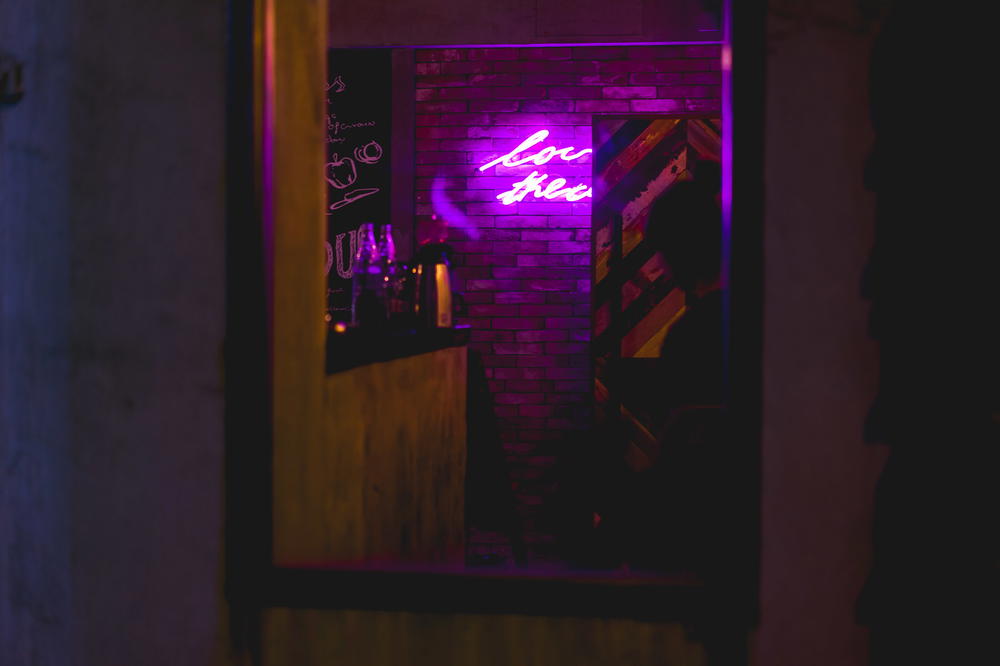
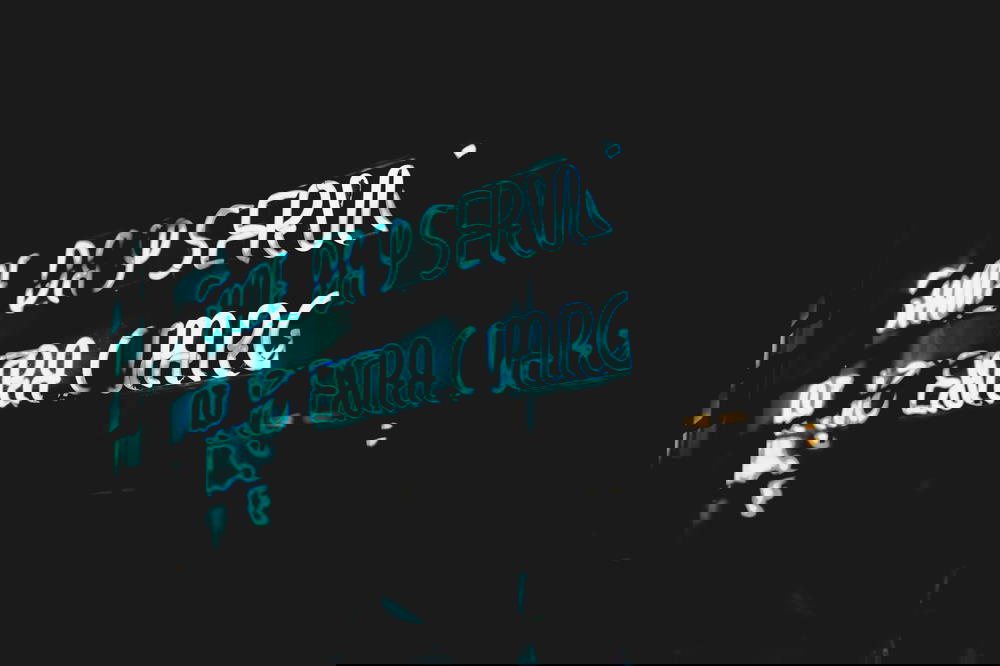
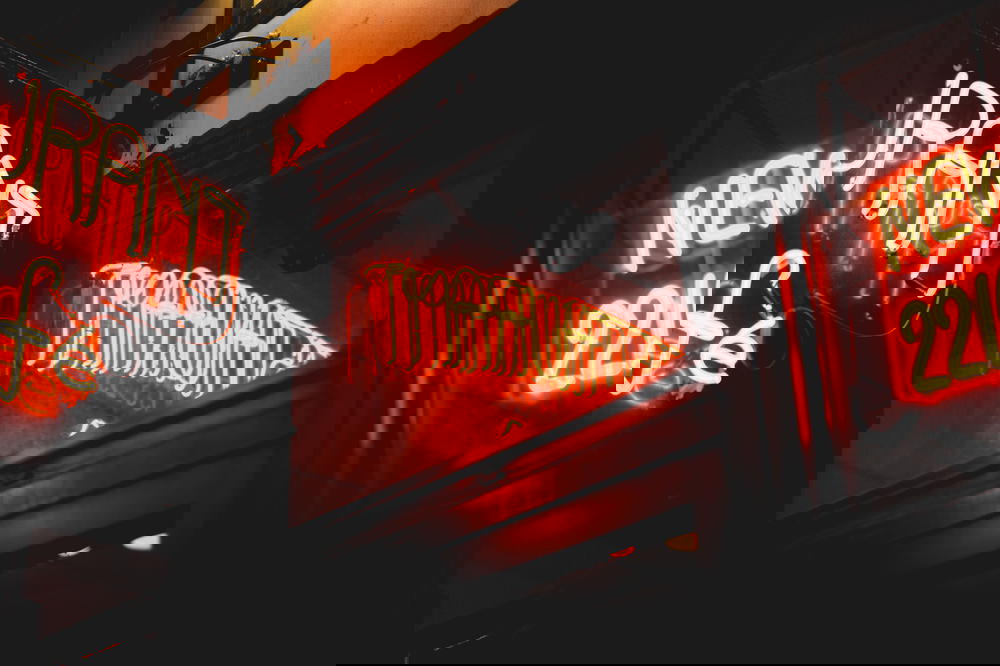
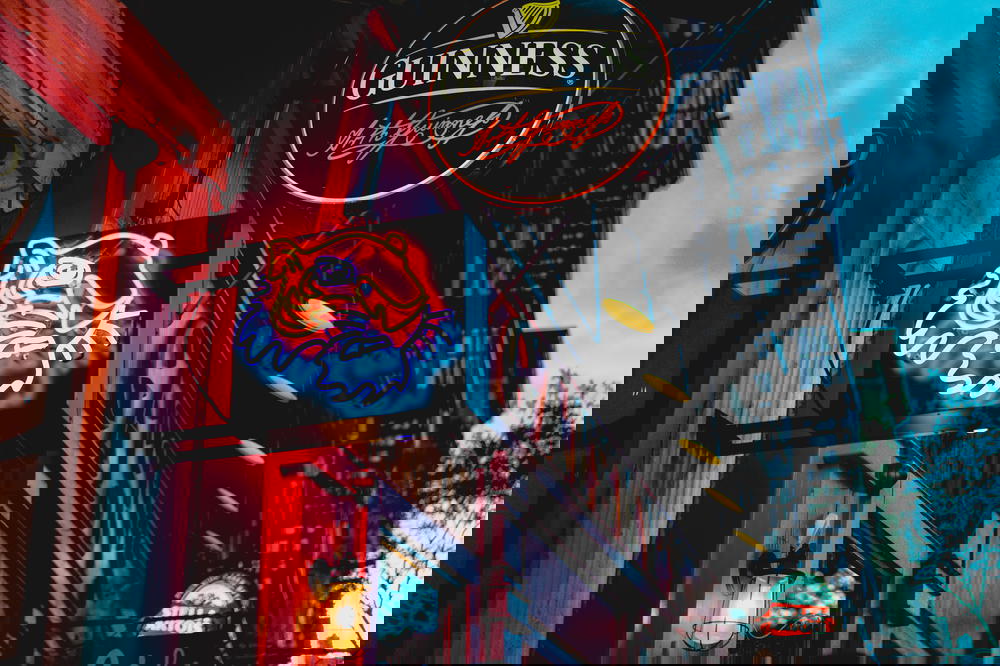
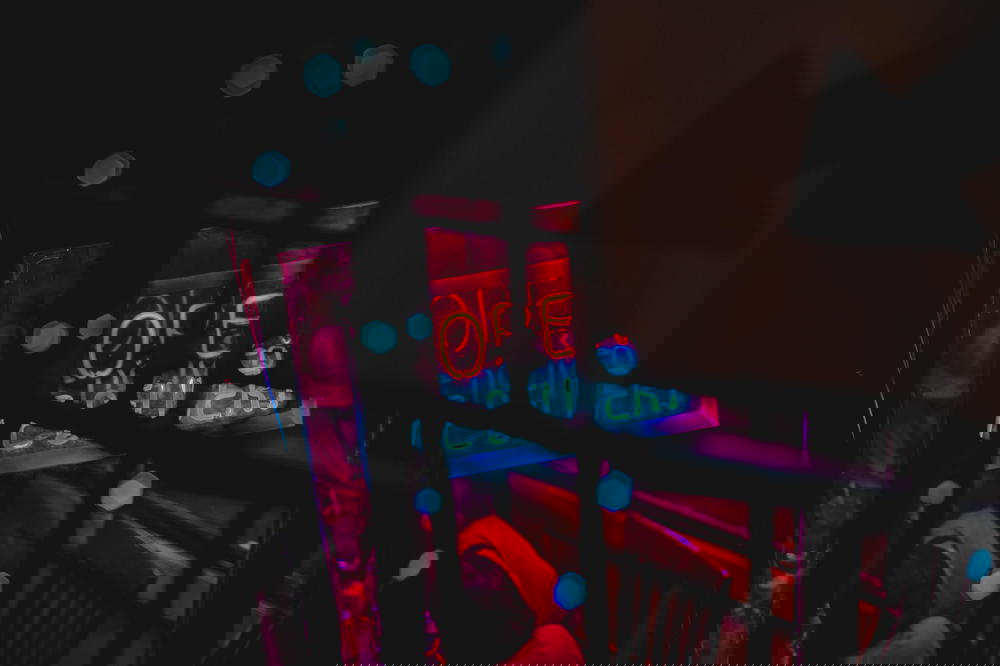
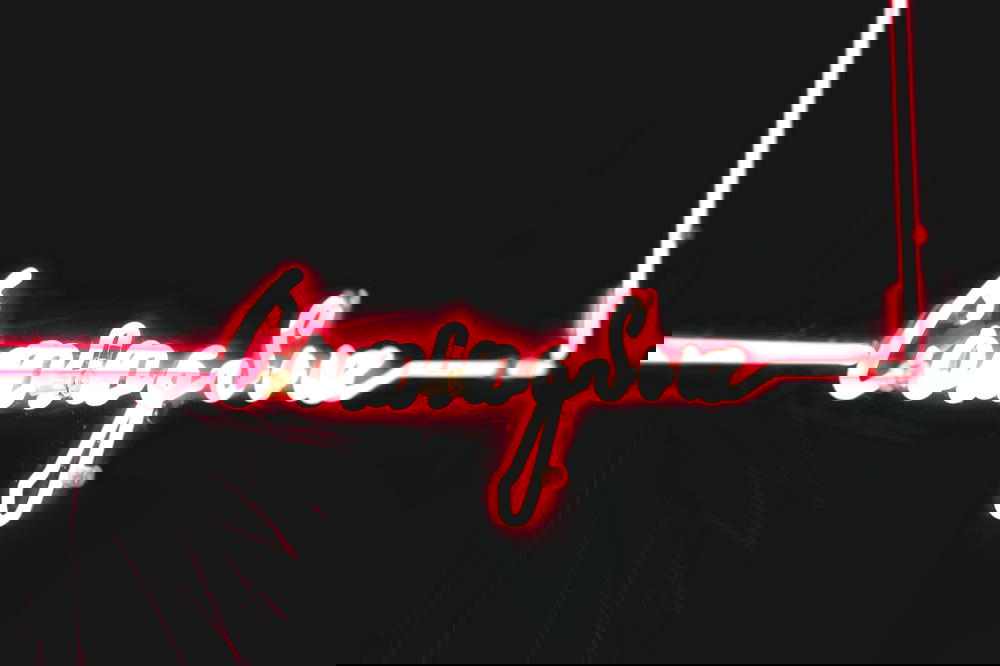
Neon Signs
Neon signs aren’t as visible during the day as they are at night. Numbers of neon signs are decreasing every year. They’re super cool and nostalgic. They remind me of an older time before the age of LEDs and other light sources.
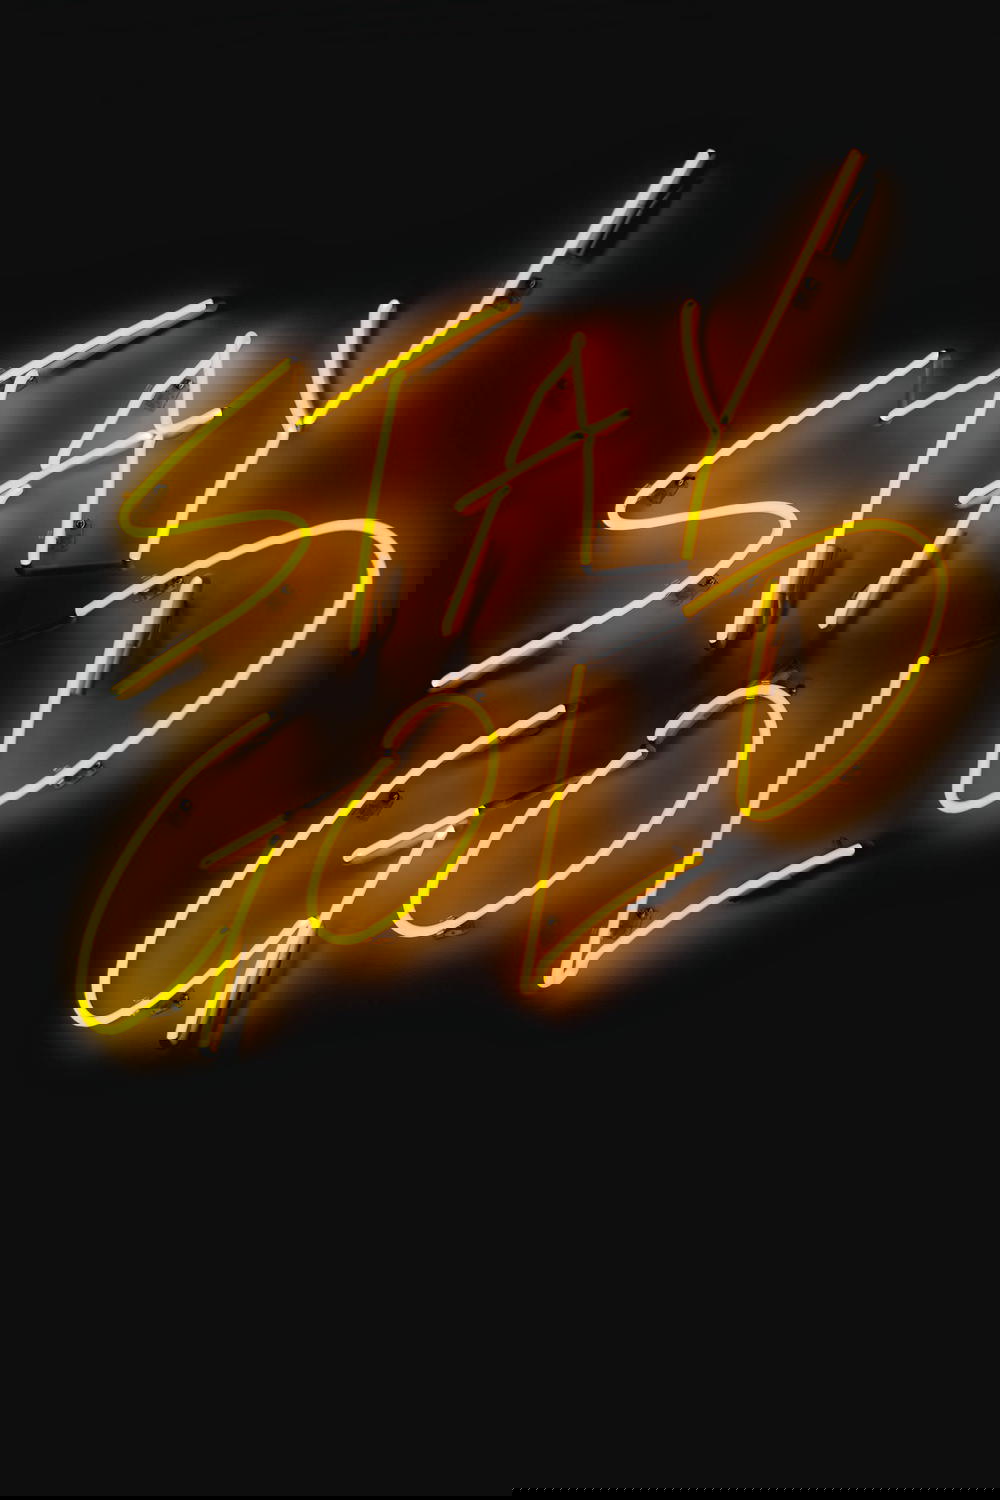
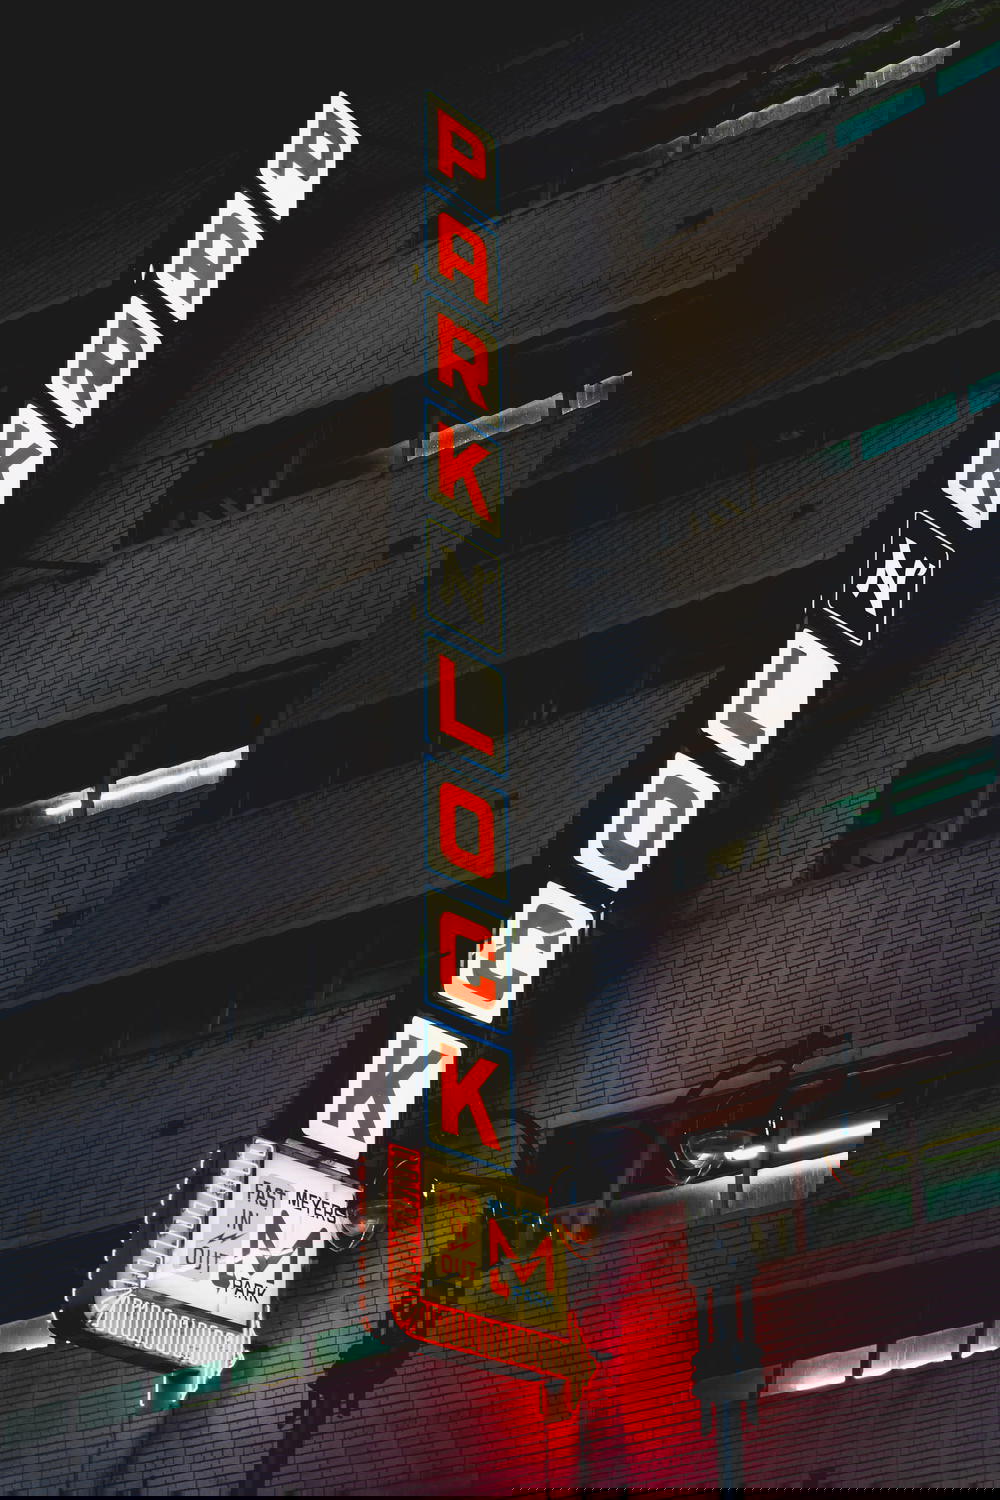
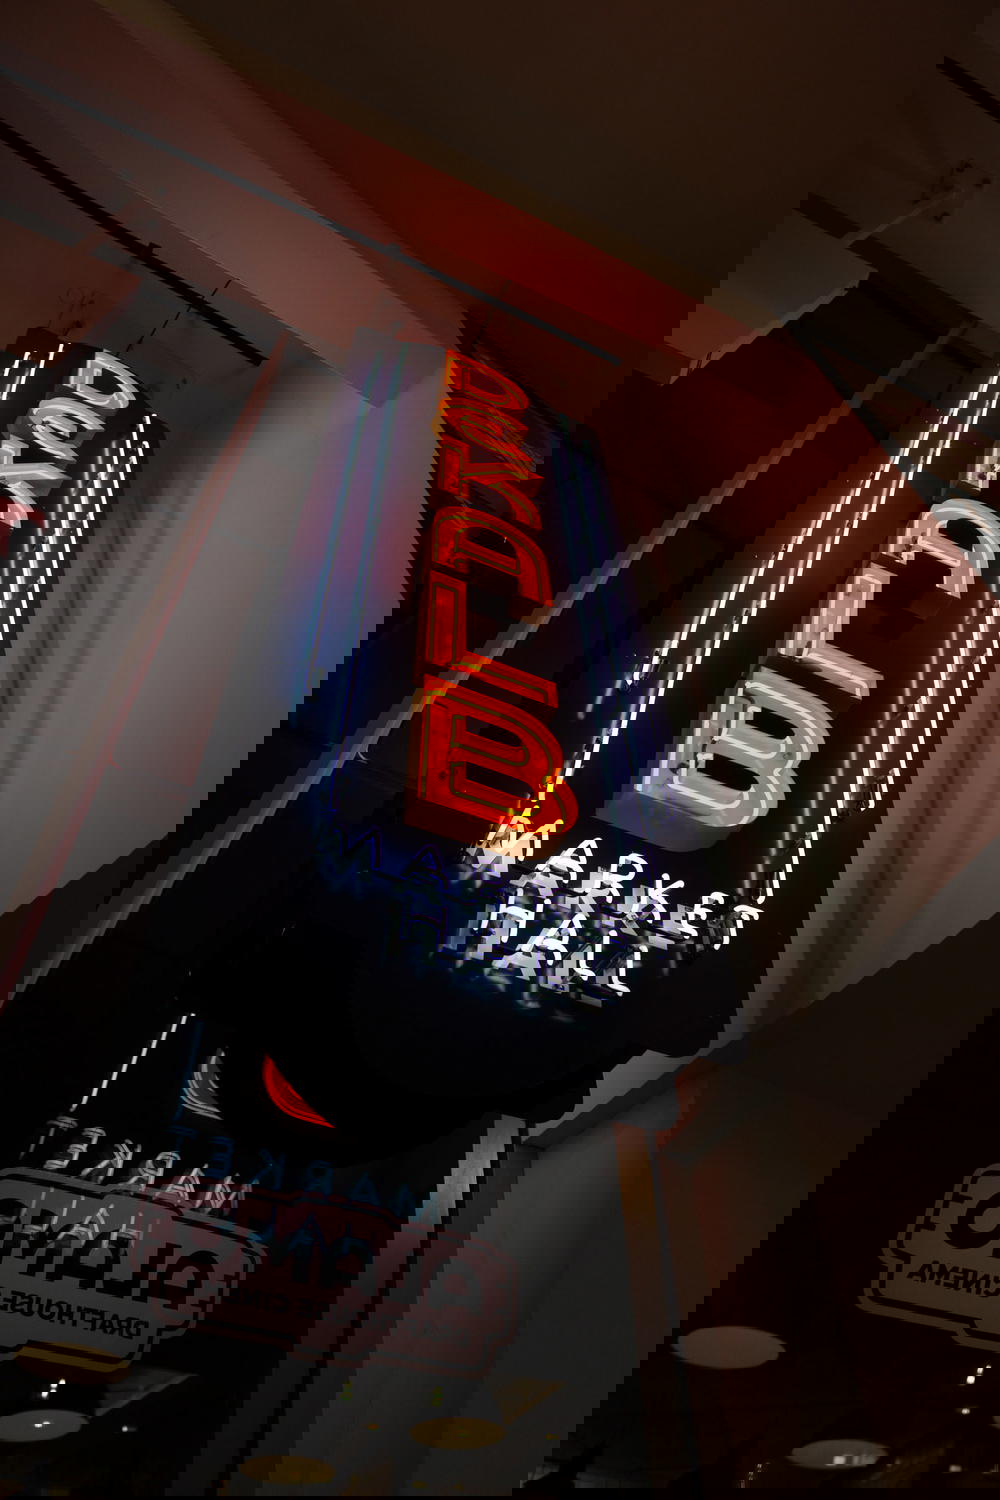
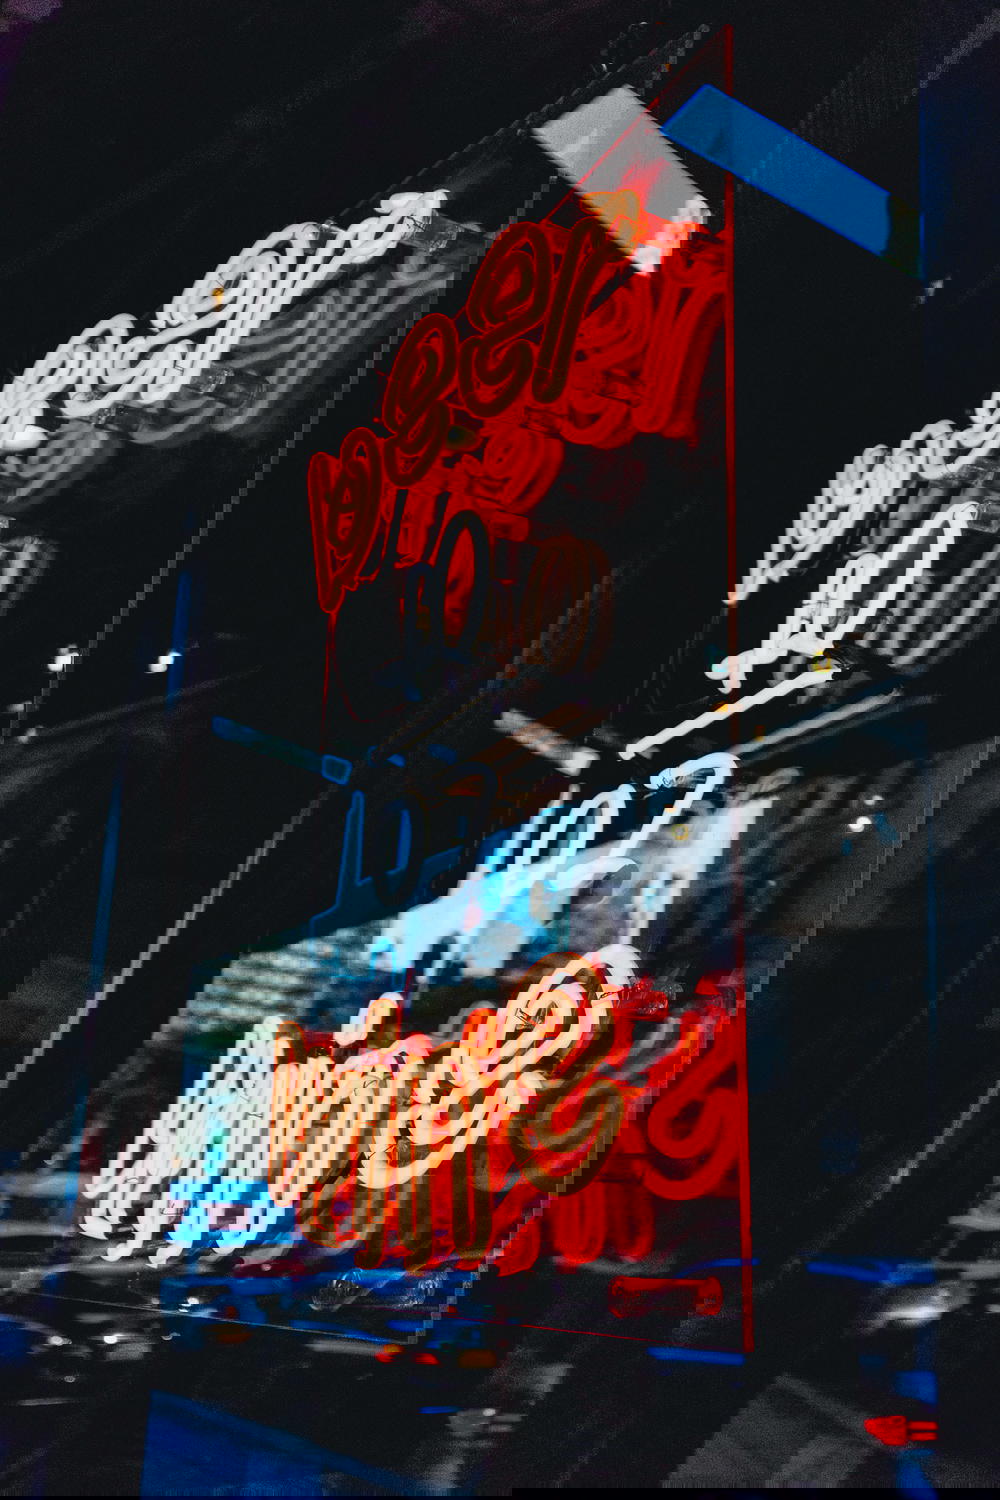
If you can find a city like Hong Kong, or an area that still has neon signs, I encourage you to take a visit and capture these unique lights! You can use some of the knowledge you learned from portrait photography and use the neon sign as your light source. You can use the neon lights as your subject and make a simple composition. Be creative!
Setting up for your night photos
Every camera is different and learning what your camera is capable of is important for mastering night photography. My camera, Sony a7 III does a good job shooting at night for 2 major reasons.
Check out how the A7 III compares to the A7 IV!
- It has a full frame sensor and the ISO sensitivity is excellent.
- The underlying reason for this is due to the full frame sensor.
Why is a full frame sensor better for night photography?
The reason that a full frame sensor is better for night photos is because the sensor is twice as big as a APS-C sensor. Twice the size means twice as much light. With night photos, light is everything!
Have you seen our top picks for travel cameras? If you’re looking for a new camera, check out our favorite camera recommendations. Or if you are looking for a camera on a budget, check out our best budget cameras!
Even if you don’t have a full frame camera or even a camera where the ISO looks noisy over ISO 3200, don’t worry! Learning what your limitations are is an important step. If this is the case for you, you now know that using a tripod and not exceeding ISO 3200 would be a good combination for clear and sharp night photos.
Understanding your camera settings for night photos
Focusing in the night can sometimes be challenging if there isn’t enough light. For this, I recommend setting your camera to manual focus so you have better control over what is focusing. Your knowledge of exposure will come into use when understanding how to expose for the night. You’ll be able to control the situation if you want a slow shutter, low ISO and average depth of field.
If you want to learn more about camera settings, check out the photography section on Skillshare!
What does aperture do?
A low aperture will help bring more light into the sensor and help keep the shutter speed higher to limit your use of a tripod. Also, fun fact, a low aperture will also help prevent dust sensor spots from showing up in your photos. When you shoot as low as f/1.8, your photos will still have a very shallow depth of field. Because a lot of the picture won’t be in focus, you can increase your aperture by slowing down your shutter speed.
What does shutter speed do?
Your shutter speed is like a door. Imagine a glow-in-the-dark toy in that room. That toy needs light in order to hold a charge to shine bright. If you leave that toy in a room with the door open, it will charge up. If you have that toy in a dark room, open the room for 1/125th of a second and close the door. You’ll get very little charge to the toy.
Your camera sensor works the same way. The sensor will expose the image for as long as you leave the shutter open. Increasing the shutter speeds means increasing the ISO or decreasing your aperture.
If you want a low shutter to do light painting, light trails or star photos, you’re able to keep your ISO low and you aperture high because you’re putting more light into that “room” aka your camera sensor.
If you are curious about how to clean your camera sensor, read the guide or watch the video!
What does ISO do?
The lower the ISO, the cleaner your photos will be. At ISO 100, your photos will have very little noise. At ISO 128000 your photos will have so much noise, it will look like it’s snowing! Some cameras do better in higher ISOs for various reasons.
Do a couple of test shots and learn the limitations of your camera. Try shooting at the max ISO and keep stopping down until you reach ISO 1600 or ISO 3200. When you look at your photos in Lightroom or a similar editor, you can compare the results and understand your comfortable ISO maximum.
ISO is an important part of the exposure because it regulates your ability to increase your shutter speed and increase your aperture. You can consider that the ISO adds more light to a scene that is otherwise dark.
Tips and tricks for taking night photos
By now, you should be an expert at all of the different types of photos that you can take and how to actually take then. But what if you want something else. How do you take unique night photos?
Photos can come alive in the edit. When you shoot in RAW and at night, you can play with some interesting tones of blues, purples, reds and yellows to make a piece of art. Aside from editing, there are a few other ways to set you up for success when shooting night photos.
How I got my start shooting night photos
When I started to learn the basics of photography, I discovered that you can slow down the shutter and take really cool photos. I experimented with lugging my 10-pound-telescope-tripod around my neighborhood and started shooting long exposures on film (this was back in 2003!). While my “1 car light trail” photo wasn’t going to win any awards, it taught me a lot about the basics of night photography.
The reason that I had a really heavy tripod was because it was really a telescope tripod. Before I was into photography, I would use that telescope (and tripod) to look at the stars and the moon. I lived in an area that had heavy light pollution, and shooting the stars on a camera was never worth it.
As I got older, and as cameras started getting better, shooting at night was even more possible than ever before. Back in the film days, I would mostly shoot with ISO 400 film. The shutter speed would need to be too low in order to capture anything of value. Now that cameras can easily push 6400 and even 10000 ISO, night photography is so much easier than it used to be!
Want to try out some new gear?
Consider checking out Lensrentals! You'll find a great selection of gear to experiment and practice with before purchasing. Use code "HALFHALFTRAVEL" at checkout and receive 15% off!
Shop nowNow that you have all the tools to shoot amazing night photos, I encourage you to go out and try it! I’ve been able to brush up on a lot of my skills by watching photography YouTube videos. It’s a great way to learn new skills and try something new.
After sunset, most people put their cameras away. Now that you have the knowledge for trying night photography, you can keep shooting and enjoy photography in a new light!
📷 Sharpening your photography with us?
We shoot, experiment and share the techniques that work, around the world. If these tips improved your shots, a coffee keeps us creating more photo guidance.
Support more photo tipsYou may also like
-
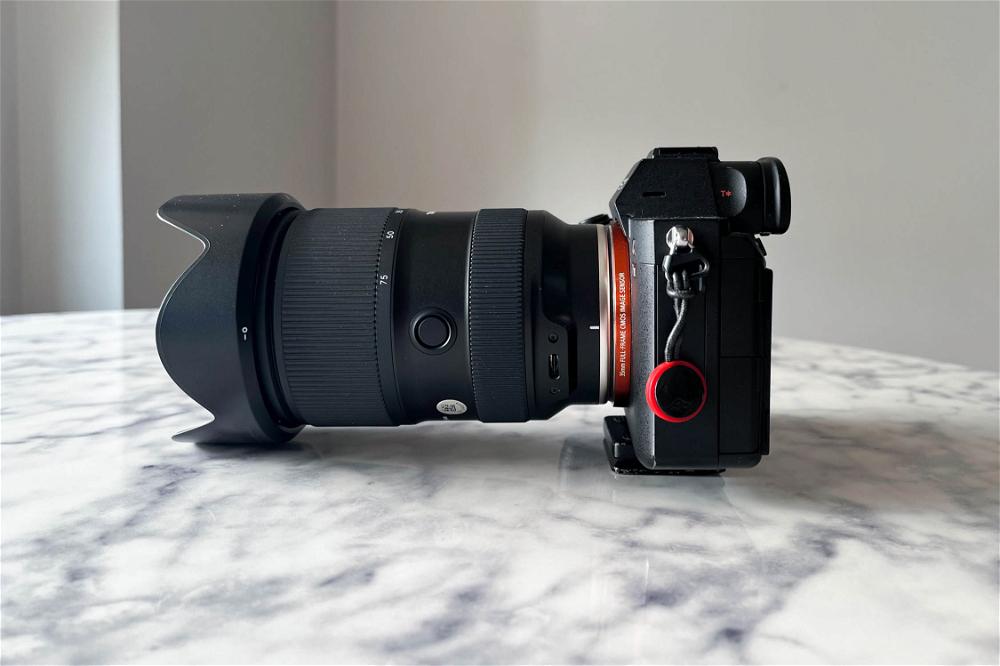
![A black camera sitting on top of a marble table.]()
Tamron 28-75mm F2.8 G2 Review (Is It Worth It?)
I review the Tamron 28-75mm F2.8 G2 lens and its lens features, picture quality and focal length. This is an affordable budget lens alternative, for its zoom and performance.
-
![A man typing on a laptop.]()
19 Best Photoshop Alternatives for Photographers
What are the best Photoshop alternatives for photography (photo editing), graphic design and art or drawing, for use in your business? Here’s my list of online Photoshop replacements.
-
![]()
How to Make Money as a Travel Photographer (12 Actionable Ways)
Want to learn how to make money traveling with photography? Here are my actionable tips for getting paid for travel photography and of course, having fun.
-
![]()
Photos Filling Up Your iPhone with iCloud Enabled? (Actual Fix)
Did your photos fill up your whole phone and is your iPhone saying your storage is full? Here’s what to do right now to fix the issue, even if you’ve enabled iCloud.
-
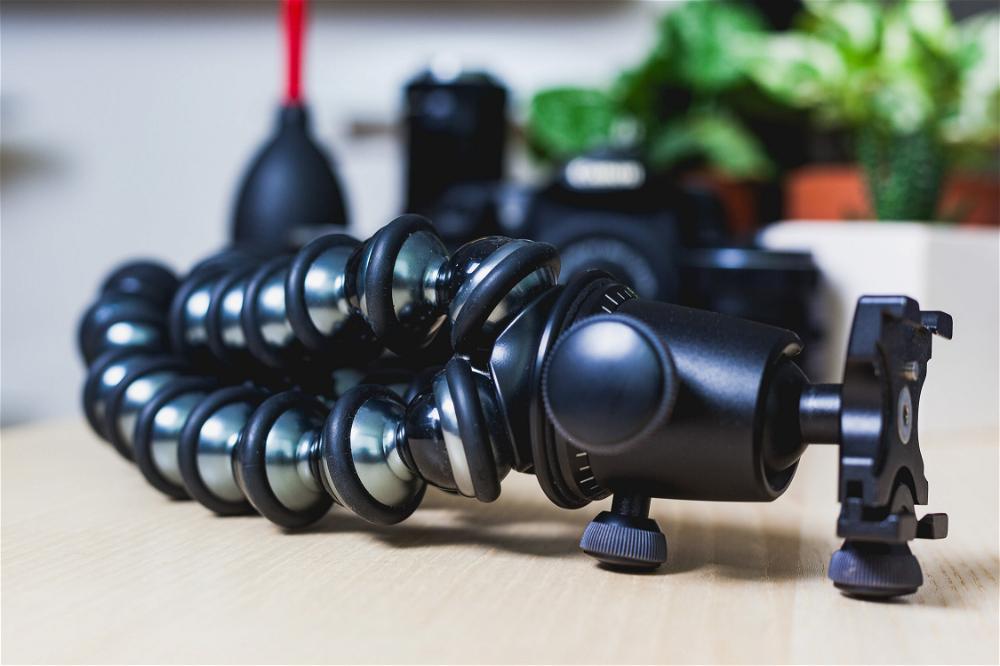
![A close up of a joby bendable tripod on a table]()
14 Best Camera Accessories for Photographers
What are the best camera accessories for photographers? Hack your photography skills with these gear recommendations for every type of photographer.
-
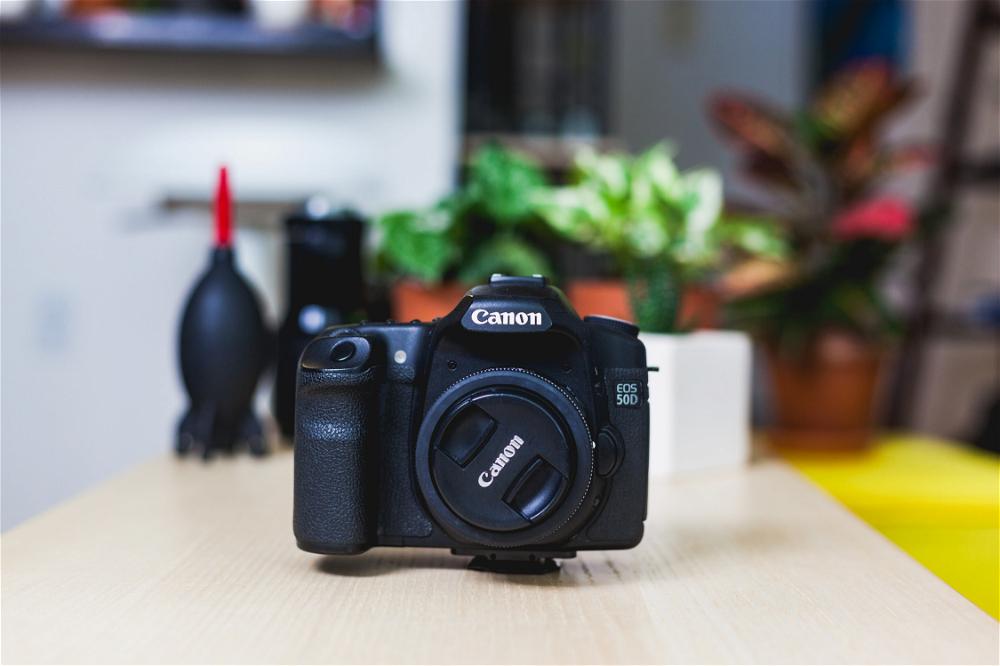
![Canon 50D with Canon 50mm 1.8 lens]()
19 Best Cheap Cameras for Photography
I list the 19 best affordable digital camera ideas for photography beginners, for anyone seeking a travel photography camera, a simple DSLR or mirrorless camera with video.