15 Beginner Tips for Better Food Photography

Get 15 tips for better food photography. From using natural light and props to editing and food styling, these beginner-friendly ideas will help you create stunning images of your dishes.
This article may contain affiliate links. We earn a small commission when you purchase via those links — at no extra cost to you. It's only us (Becca & Dan) working on this website, so we value your support! Read our privacy policy and learn more about us.
Table of contents
- Use a tripod
- Experiment with depth of field
- Use a reflector to bounce light
- Use props when possible
- Style the food aesthetically
- Use a polarizer when photographing liquid
- Try out different lenses
- Use a diffuser or light box when using a flash
- Shoot in RAW
- Watch your composition
- Use natural light (unless you’re going for a high-contrast flash look)
- Include a human element
- Angles are everything
- Take photos of food while plates are full
- Practice, practice, practice
Are you looking for better ways to take photos of food so that not only the food looks awesome, but the photo does, too?
Food can tell a story, like what time of day it is, where you are or who you are with. Food can also portray a general mood or experience.
It seems we all want to use photos of food to remember food experiences. Here are the best tips for taking photos of food, whether you are a total beginner, or an expert looking for more inspiration.
Read on, to see the best ways to take photos of food, with a few hidden tricks in between.
Use a tripod
You will want to use a tripod if the location in which you are shooting doesn’t have a lot of light, or if your shutter is really slow.
You can also try using a tripod if you want to keep your camera in the same spot over the course of several photos. These are great use cases for why you’d want a tripod.
If you’re looking for a recommendation, you can’t go wrong with the Manfrotto Befree tripod or a much small table top tripod from Manfrotto. They are both affordable and will be more than enough to get you started with food photos.
A tripod will help to keep your camera in the same spot if you want consistent shots, or a consistent angle that you can use for your food setup.
If you’re shooting food for menu photos, for example, and you need consistent angles, use a tripod. This will also allow you to make an assembly line and be systematic with your time.
Once you have your settings dialed in and the lighting is set up how you want it, using a tripod will create consistency.
Experiment with depth of field
Depth of field is good if you are trying to really showcase one particular item of food.
If you’re trying to call attention to a particular item on the front of a plate, setting a shallow depth of field will create separation between the subject and the rest of the plate.
Be careful about using too shallow a depth of field: it could make your plate look confusing. It could potentially create some harm because you may not be showcasing the food as best as possible.
If you’re trying to showcase the entire plate, and you’re using too shallow of a depth of field, you may not get some of those items in focus. A tip is to have the aperture high, with F8 as a good place to start. This will either increase ISO, or, it will decrease your shutter speed.
This would be another great use for a tripod (see above!), because you can keep the aperture high, and ISO low. You won’t have to worry about blurry photos because your tripod will stabilize your camera.
Use a reflector to bounce light
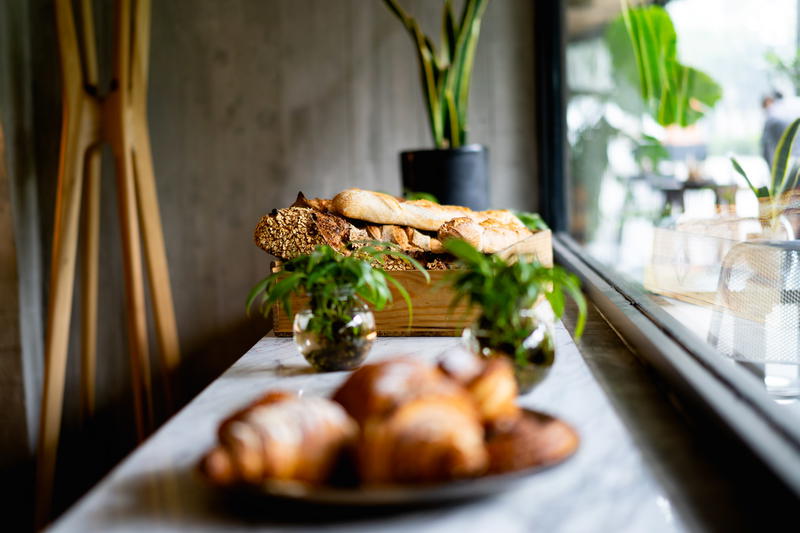
A really good idea is to shoot in front of an open window for free natural light. You won’t risk getting harsh light from overhead lights, which can usually make food look unappetizing.
You can use a reflector to leverage some of that light on the other side of your food. Experiment with different reflector colors to cast a warm, cool or neutral light onto the other side of a plate.
I like this option from Neewer! I’ve used it in the past and it works well. It’s a little tricky to figure out how to fold them. You’ll figure it out, but keep that in mind when you first get it!
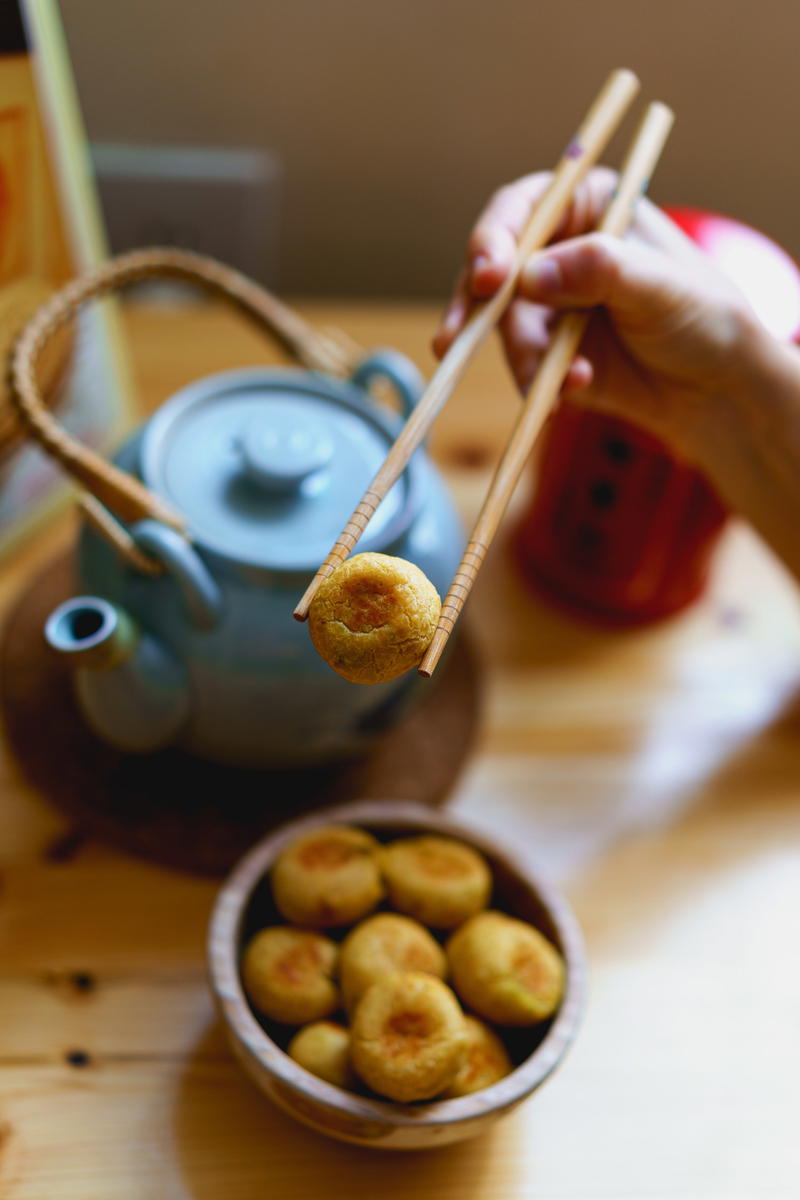
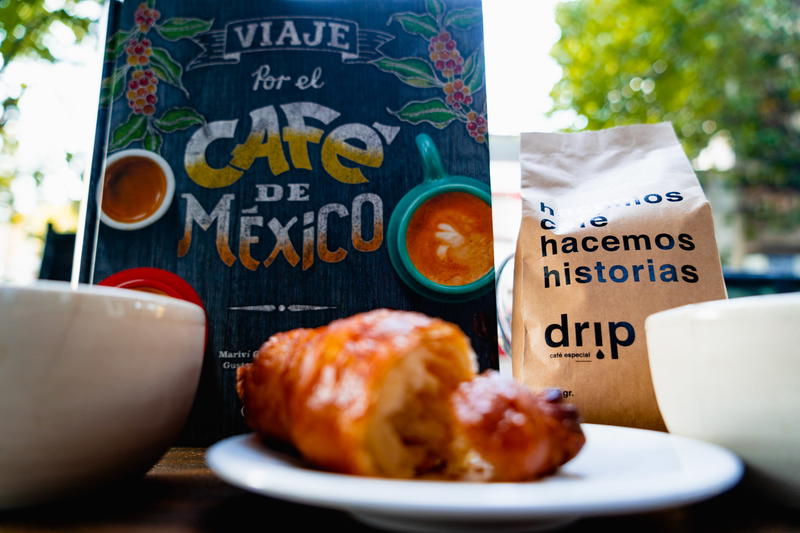
Use props when possible
Props make food photography interesting because you can create a scene and personality with the food on a plate.
If you’re only showing a picture of food, it’s not very interesting, because the person looking at the food can’t picture themselves there with the scene you’re creating.
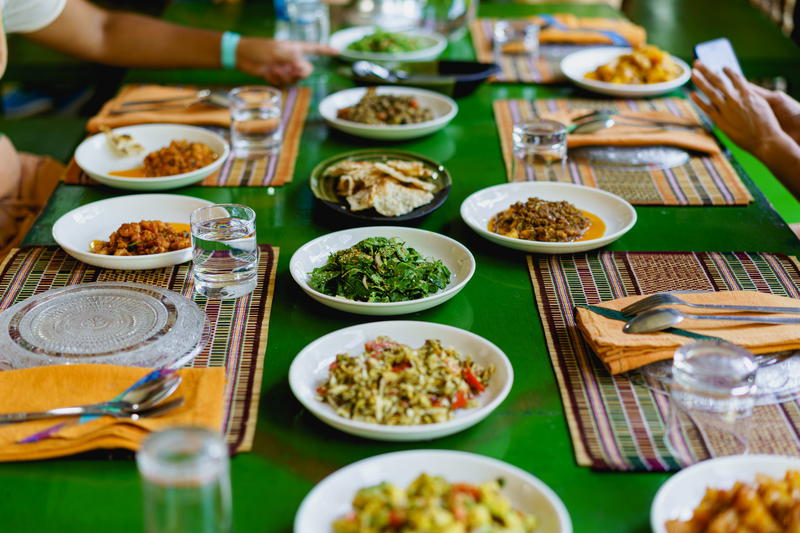
Picture a fancy restaurant (or recreating a fancy restaurant setting at home): you’ll want to add candles, an interesting menu, interesting silverware, a tablecloth and a napkin.
These elements should not overpower the food because the food is the star in the scene! These props act as supporting actors in the overall environment you’re creating for your food photography.
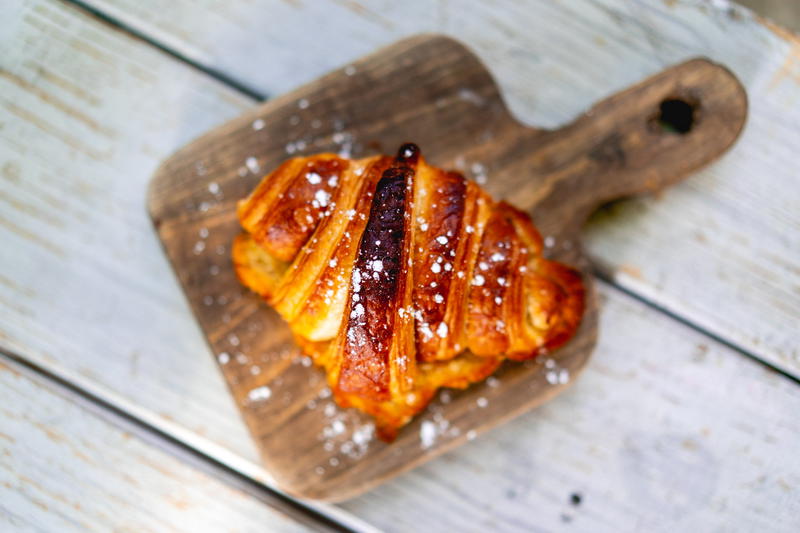
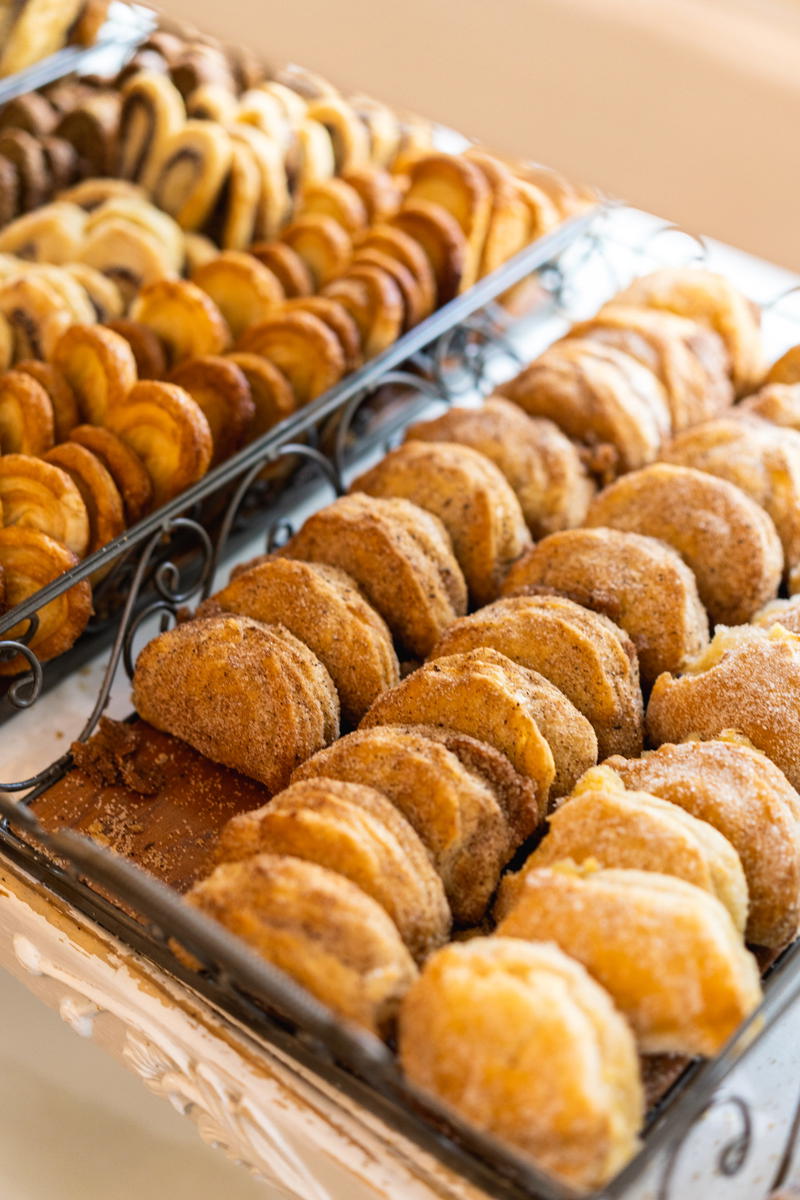
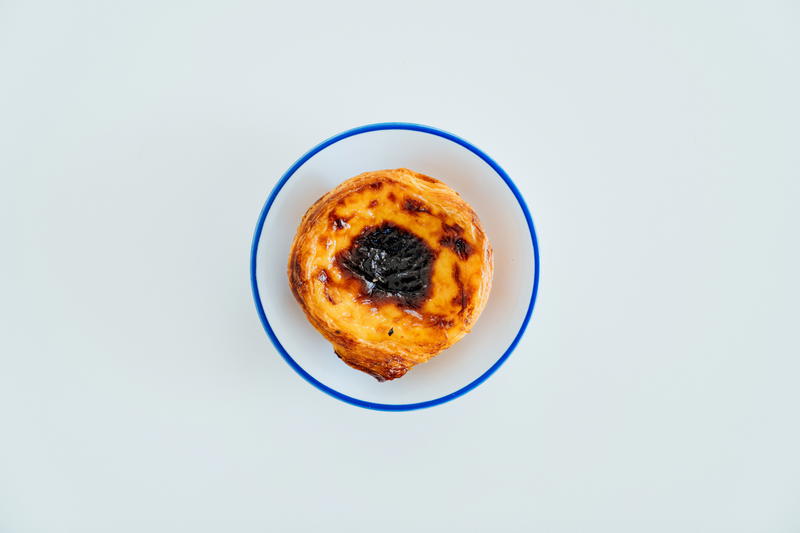
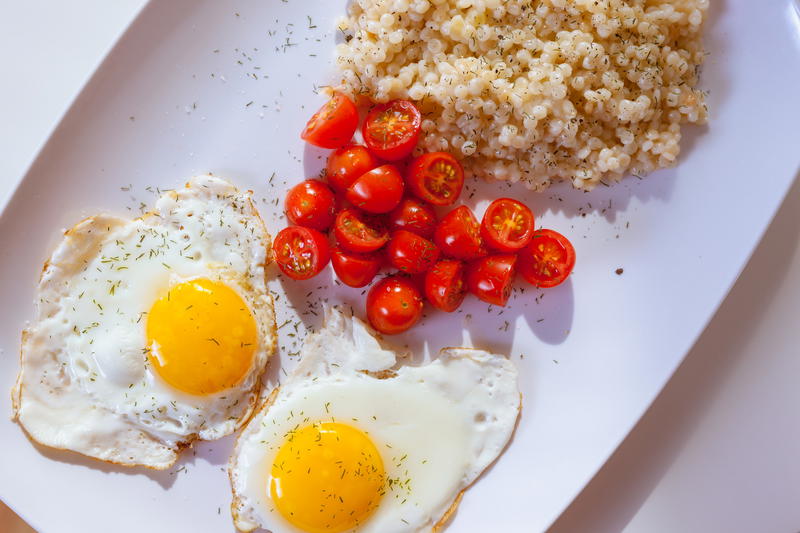
Style the food aesthetically
Take extra care to make sure that there are not drips or crumbs on the edges of the plates. If there’s any oil or splashes, wipe it up, to make sure the plate looks super clean and appetizing.
Be careful of taking photos of foods that oxidize quickly. This creates a brown mess! Having an avocado that sits out for more than an hour will cause it to be browning, and the same goes for an apple.
Typically, putting the food on a plate is called “plating.” If you’re not being served restaurant food being plated by professionals, you can learn to this on your own with some inspiration from photos online.
Basically, no one wants to look at messy food that doesn’t look appetizing! Those are the kinds of photos that get skipped over.
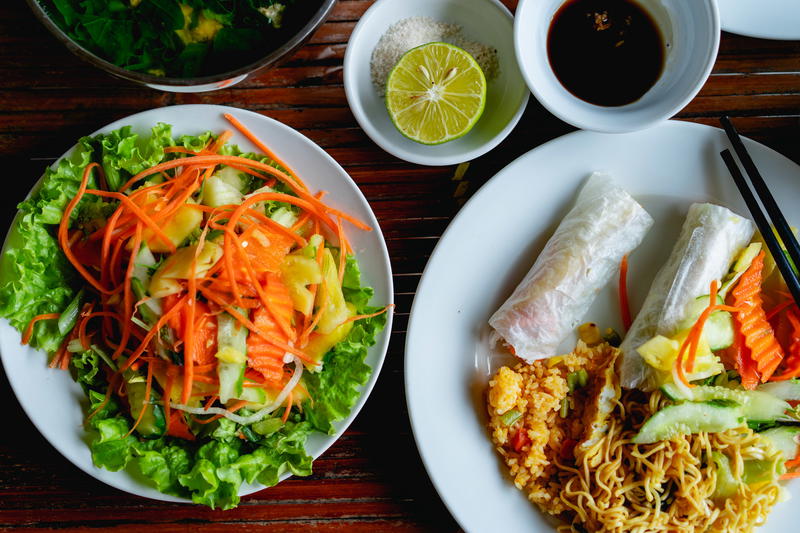
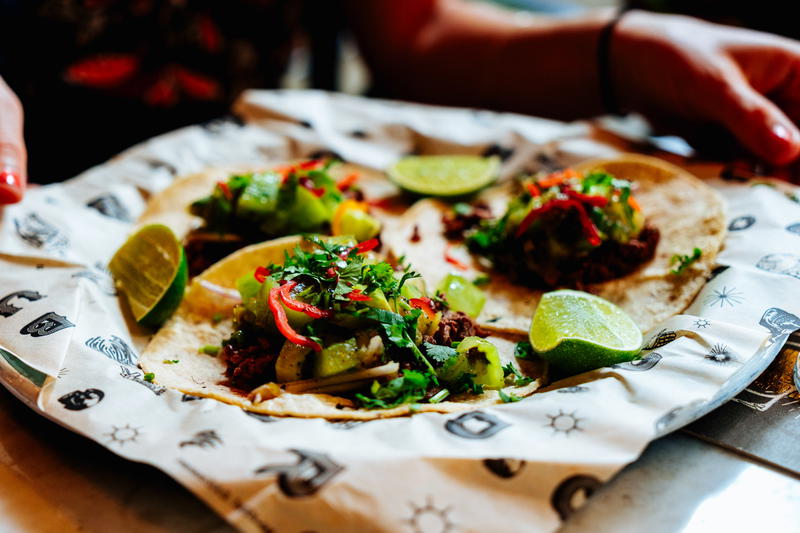
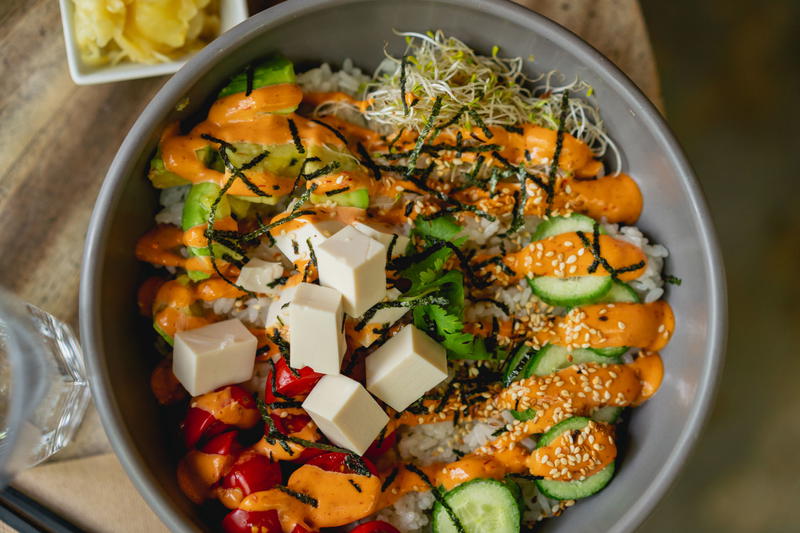
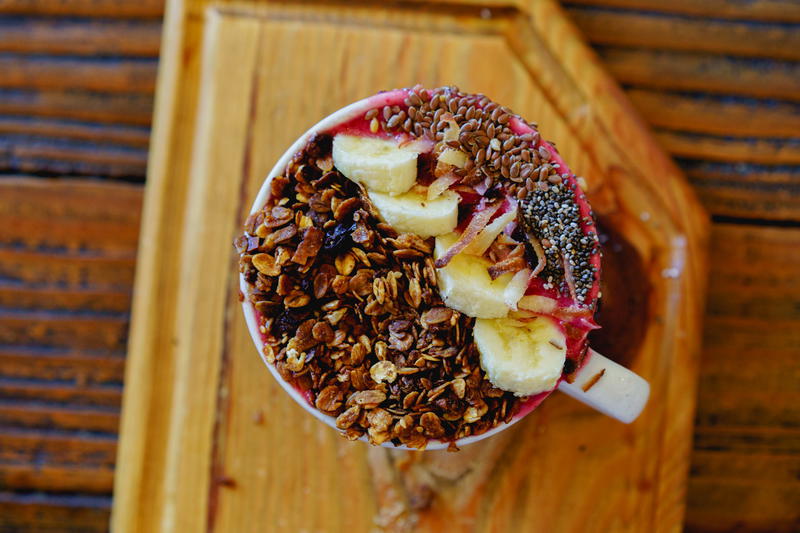
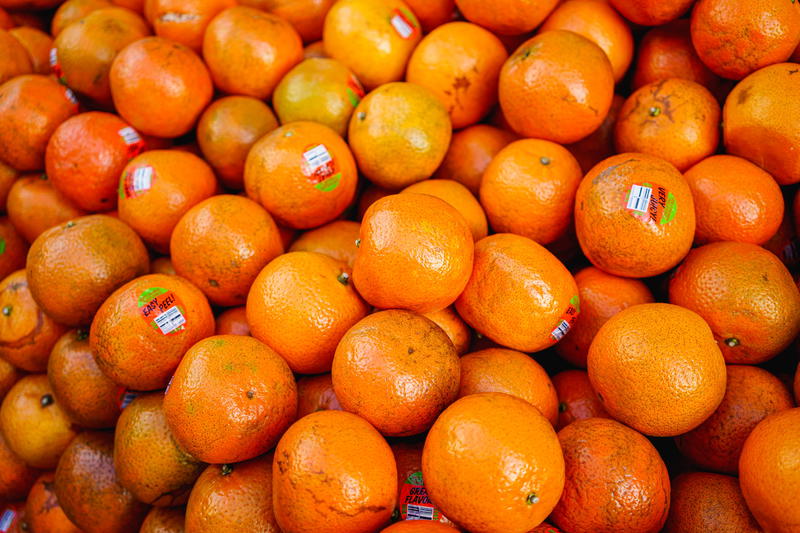
Play around with contrast. If food is all one color, try to have some garnish to balance out the colors. Great garnishes can be parsley, cilantro, rosemary, chives or spring onion and zest from fruits.
If your food is all one texture, try to get a variety of textures in there. A picture of brown soup will never look great, but if someone can help throw in green chives, red onion and some fresh herbs, it can look delicate and fantastic in a photo, especially if you can bump up those colors and keep them fresh in your edits.
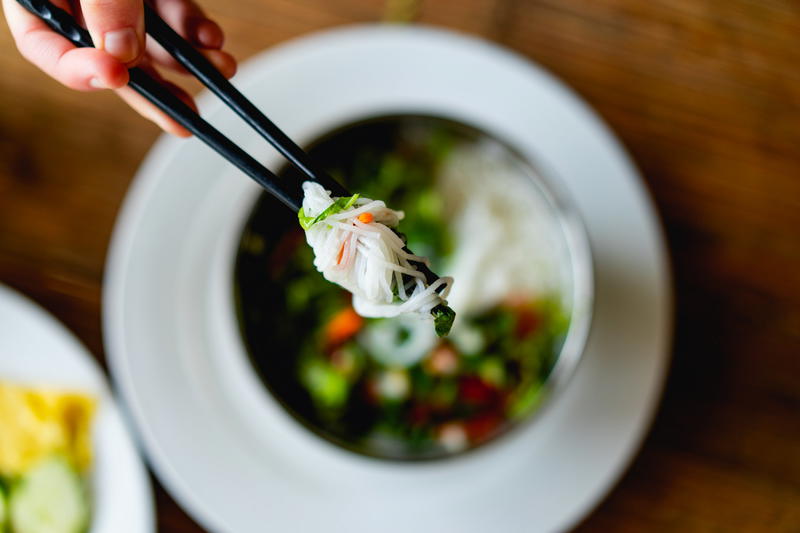
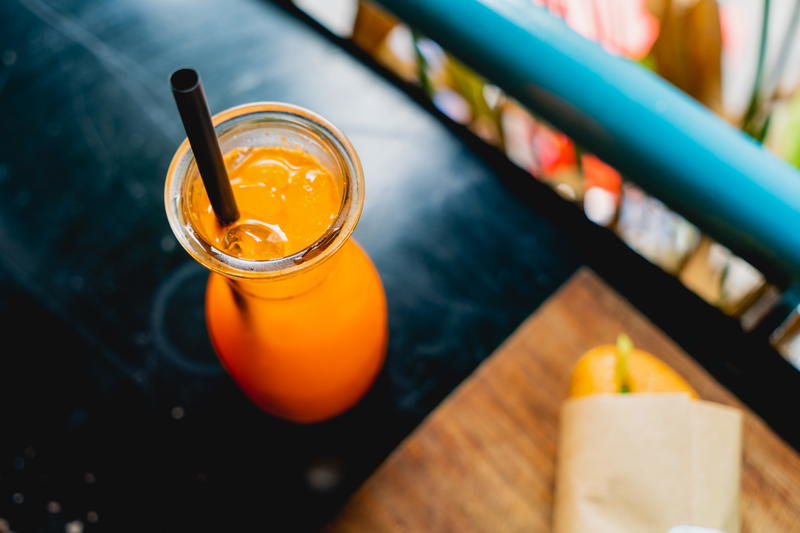
Use a polarizer when photographing liquid
If you have overhead lights or reflections, and you’re having a hard time getting rid of them on the angles, you can use a polarizer to get rid of some reflections.
You typically use a polarizer on a body of water or a car, to eliminate reflections. You can do this with food photography for the same effect.
It’s also useful for shiny plates. A polarizer can help get rid of those undesirable shadows.
I’ve been using polarizers and filters from Breakthrough Photography and I’ve been really happy with them. You can check out this search on Amazon to find the one you’re looking for.
It’s always a good idea to buy filters as big as your biggest lens. Then you can get step down rings to fit on your smaller lenses. For example, my biggest lens is 72mm. All of my filters are 72mm and I have step down rings to fit most of my 49mm lenses.
Try out different lenses
Experiment with different focal lengths. They can give you quite different results in your food photos.
A telephoto lens is going to compress everything, so if you are shooting a table scene, this type of lens can give you interesting results. It will compress the scene, and will help you compose your photo to make it visually interesting.
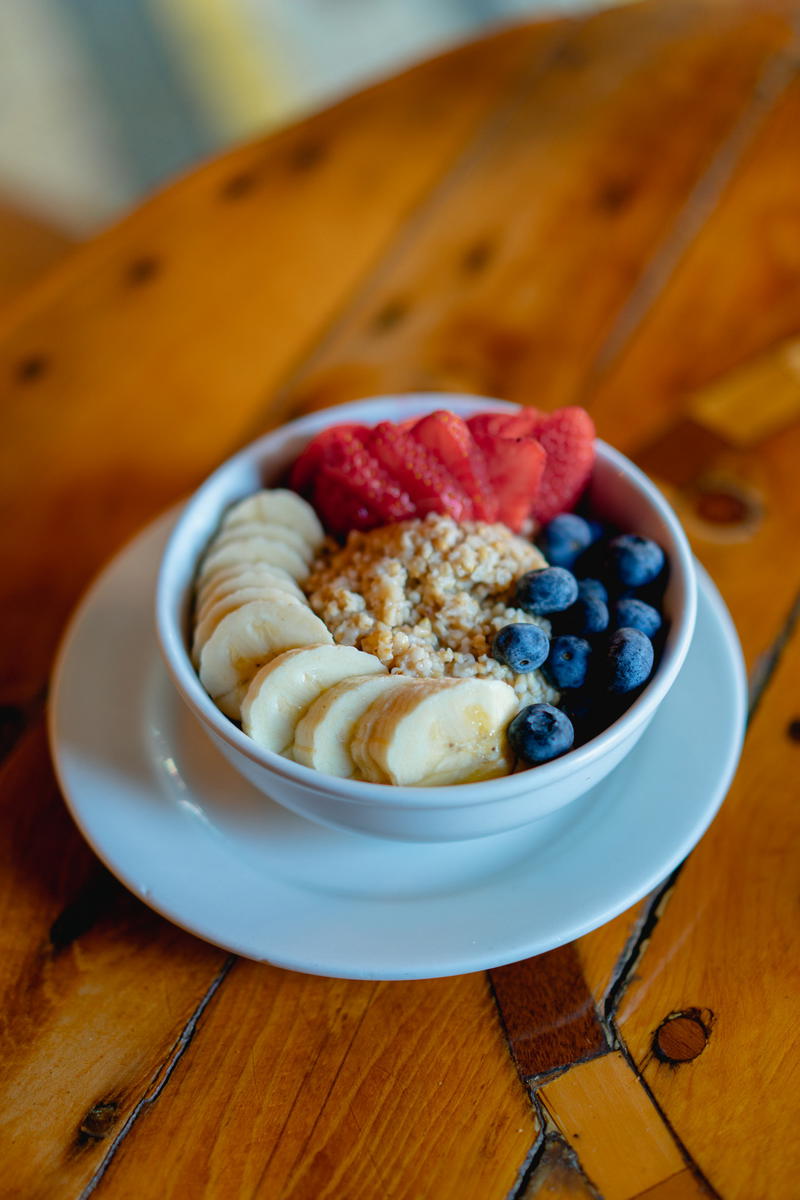
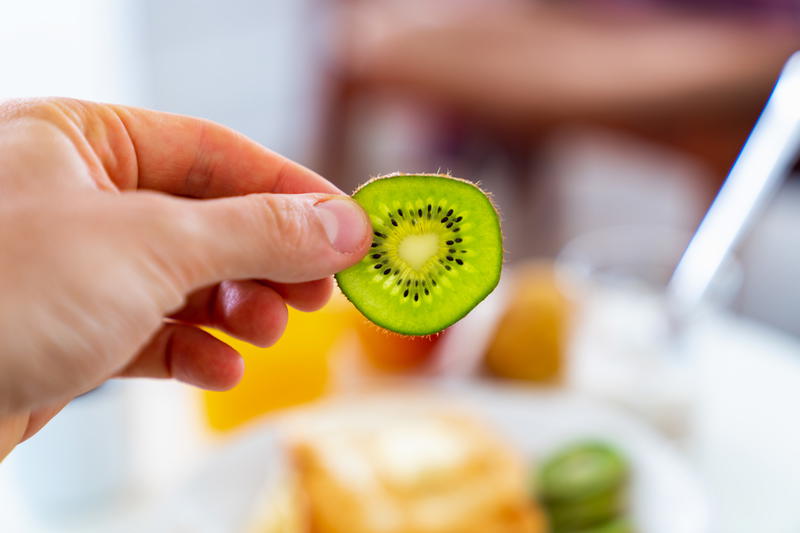
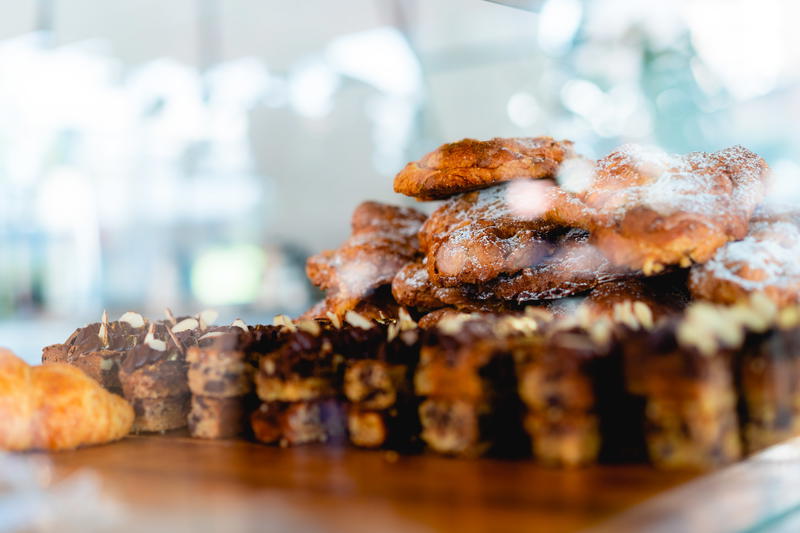
A macro lens is going to allow you to get really close detail of food texture. With a macro lens, you can hone in on strawberries, blueberries and other fruit, for example, and even the textures of blackberries.
You wouldn’t normally see these textures up so close, in every day life, so it makes for cool photos. Macro lenses are my favorite for taking pictures of fine and close-up detail, like delicate food.
A macro lens is kind of like a specialty; if you’re trying to stand out or get interesting results, this can help you stand out from the crowd. Your photos can really pop, with the fresh detail from a macro lens.
For normal shots, you’ll want to stay between 35 and 50mm. Otherwise, you risk getting too much unintentionally in the frame, or your frame will be too cropped and you’ll have a hard time fitting in all the items on the table or in the scene.
A 24-70mm lens is usually a good place to start, for beginners, while you get used to this focal range.
Use a diffuser or light box when using a flash
When using a flash, direct light is going to make food look very unpleasant. You’ll be washing out the shadows.
My advice is to use a diffuser to spread out the beam of light that comes from the flash, in an even way. A diffuser is going to act like a large window, so this is ideal for food photos to begin with!
If you don’t have a diffuser, experiment with shooting through a white sheet. It will have a similar effect.
If you’re taking photos in a room with a white ceiling that is fairly low, you can also bounce your flash off the ceiling or off a close wall. I’ve done this in the past, and had some great results.
Shoot in RAW
RAW photos allow you to adjust the white balance, and will also give you a lot more information about the photos, when compared to JPGs.
If you’ve set your white balance incorrectly, you can change it while you’re editing, which is a huge win.
If parts of your photos are way too bright or way too dark, shooting in RAW will allow you to increase shadows and decrease highlights. This way, you can recover data that would otherwise be lost.
Watch your composition
The composition of a photo of food is what draws a viewer into the scene. Without good composition, you could spoil the overall effect of what you’re trying to achieve.
For example, if you have a beautiful plate of food, but the photo gets framed without much thought and the angle isn’t attractive, you haven’t done your job quite yet!
Composition means how the components of the photo are working together to create the whole. Are you utilizing negative space? Are you going for a purposely busy food scene with tons of props? Is the photo of the food alone, or is it plated? Are you centering the plate, or using the rule of thirds?
If you’re working with a client, be sure to align on the style they are seeking for the photoshoot. If you’re a hobbyist and taking photos of food for your personal social media or portfolio, you can play around with different compositions, and also use the tips above (lenses, tripod, angles) to create variance in how the photos are composed.
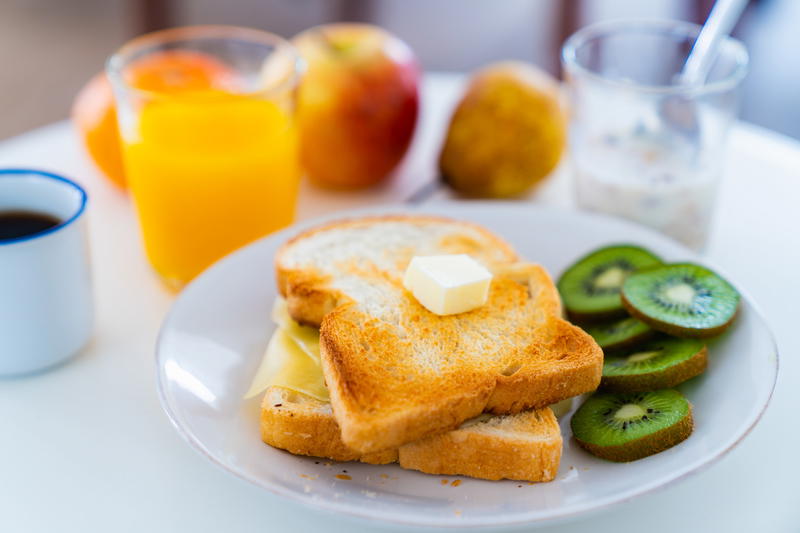
Use natural light (unless you’re going for a high-contrast flash look)
You might have noticed that people tend to look best in natural light, and in the same way, food looks its best when the light comes from the sky or is muted by a window.
It’s helpful to keep in mind that a regular camera flash will give food lots of unnatural shadows and won’t make it so appealing. For this reason, we always look for a table near a window, if we are inside, or usable outdoor light.
By ‘usable’ we mean that bright sunlight on a picnic table without any shade is not always the best. It is often helpful to use half shadows (called penumbra), which will avoid the food being too bright.
Nowadays, you’ll see high-contrast photos taken with flashes on Instagram, Pinterest, menus and ads. This is a totally different look that doesn’t aim for anything natural. If you are going for this type of aesthetic, scroll up above to read about flashes and bouncing light.
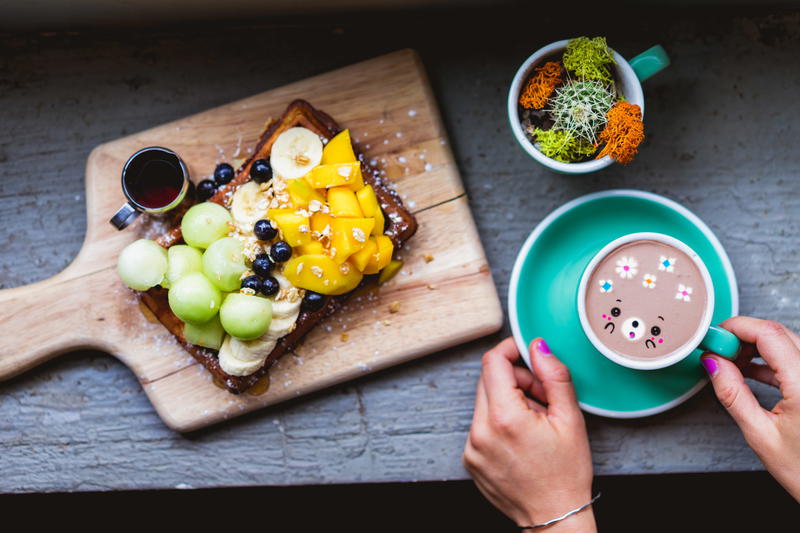
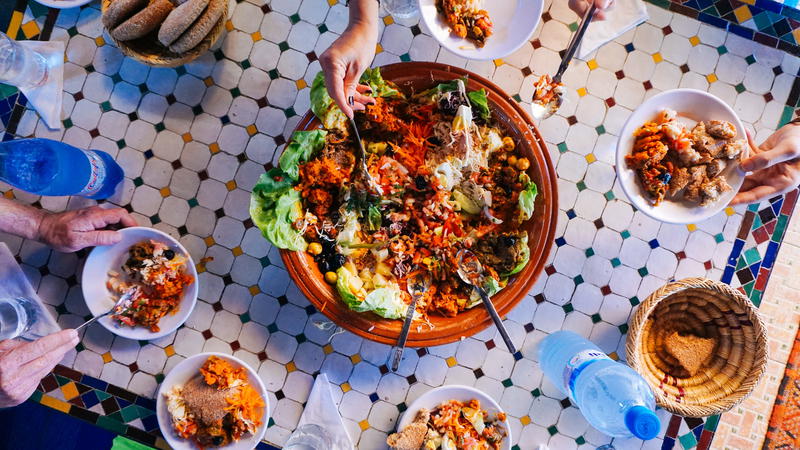
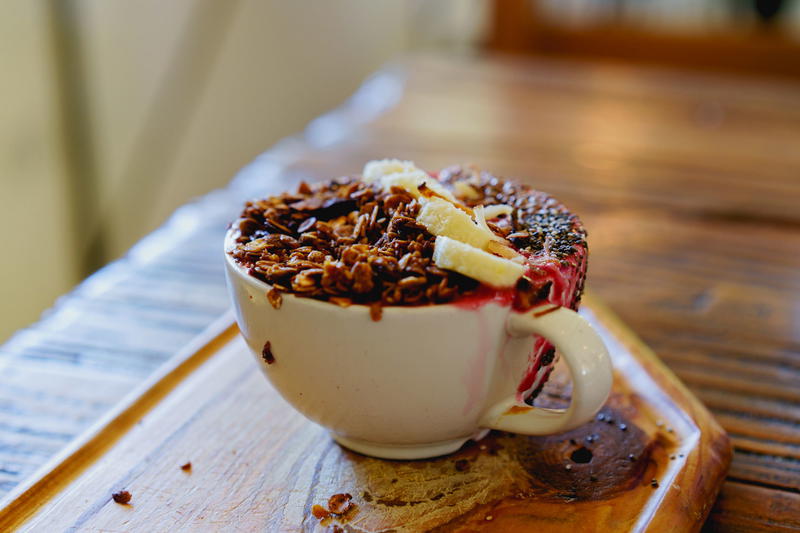
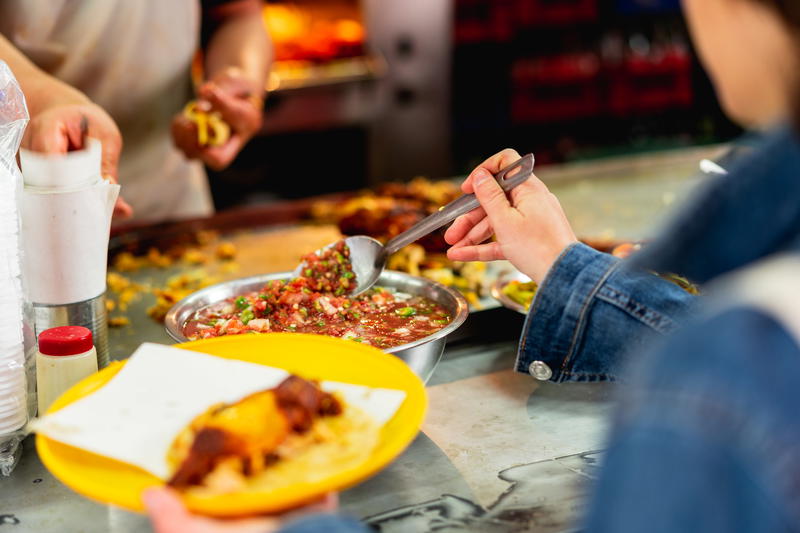
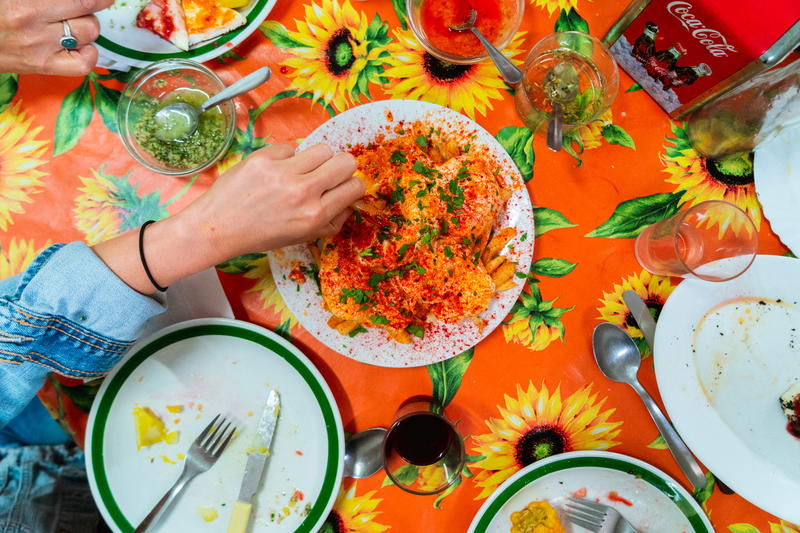
Include a human element
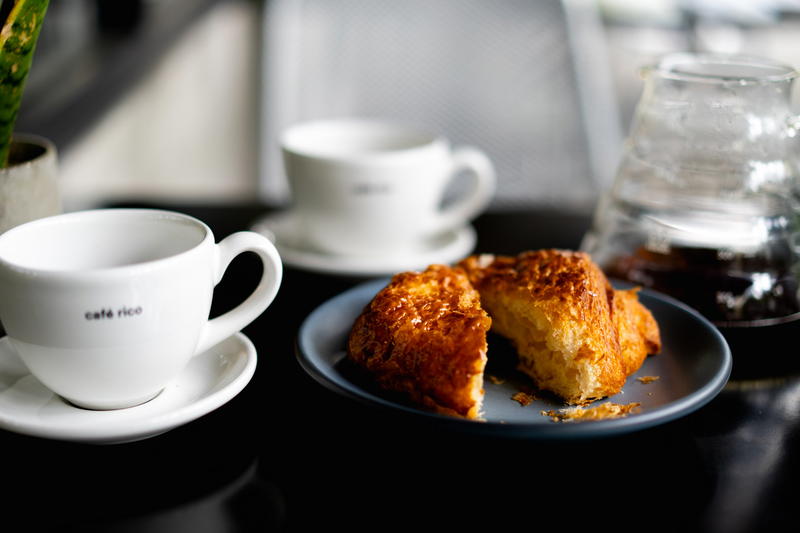
While food on its own can be beautiful, a photo of food can be made complete by adding a human element. To the viewer, and also for you, when you look at your photos in years to come, this will give the photo some context.
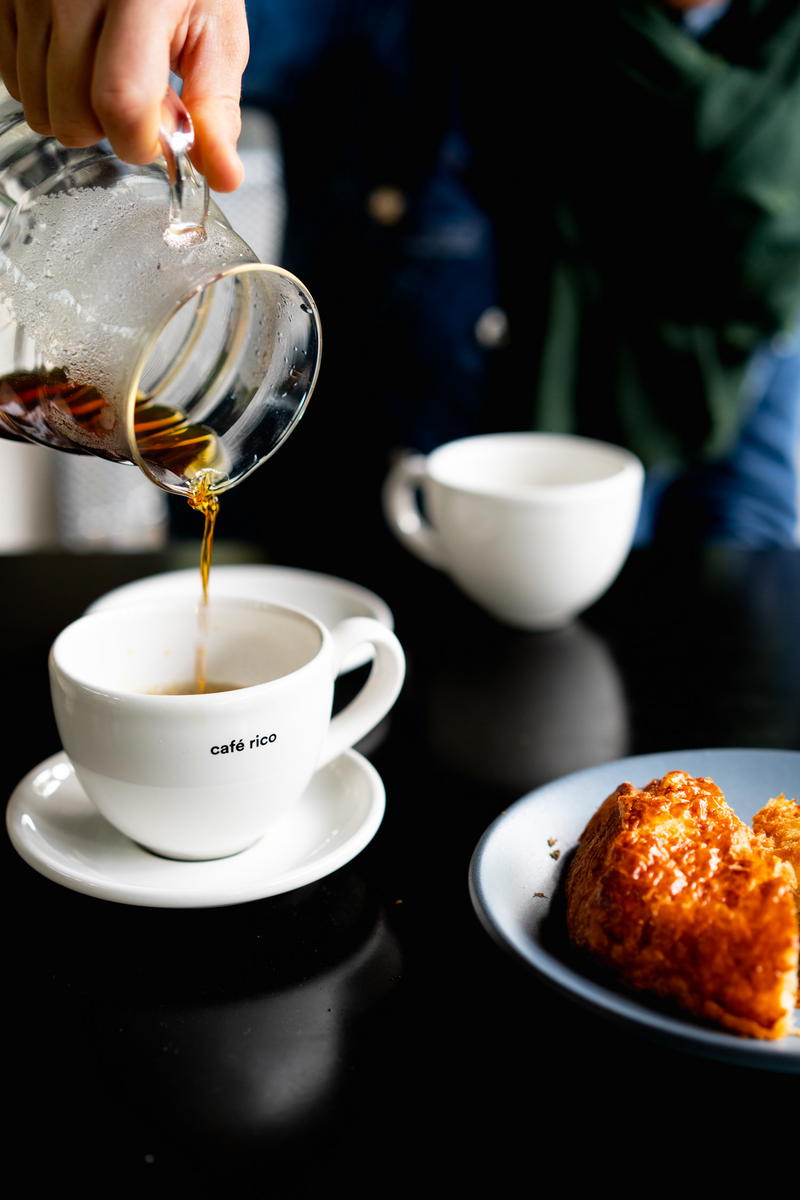
Some favorite examples of ours are holding our coffees with our hands, reaching for a dish in the middle of a table or placing a hand on the side of a plate. You’ll see that you’re giving much more personality to the photo.
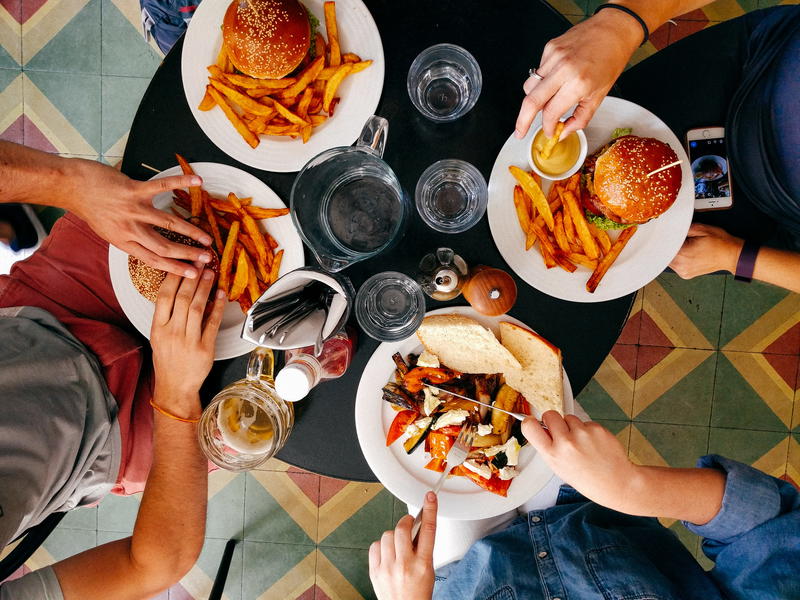
In the past, when I’d be at a dinner or lunch with friends and insist on taking a top-down flat-lay photo, I’d ask everyone to put their hands on their utensils and plates, or grab a condiment bottle, to give an exciting touch to a photo of food plates.
Angles are everything
Nowadays, the ‘flat-lay’ photo style is trending for everything from accessories to food to books. Flat-lay photos mean that the camera is placed directly over a flat surface to give all objects involved an equal perspective.
In all honesty, sometimes we have to do this a few times to get it right. If your camera is tilted even the smallest bit, you’ll first notice it in teacups and glasses with liquid.
Flat-lay photos also help with giving more context to a photo, such as the tablecloth, your shoes, if they are included below the surface, or the place settings.
Take photos of food while plates are full
While this sometimes means waiting for other plates on the table to arrive or holding off digging into your meal for a minute, it’s worth it to take photos when plates are full and food is plated perfectly.
It’s highly important to take photos of the food before altering how it’s plated, before any coffee is sipped from the cup or before someone gets a lipstick (or even slippery lip balm) stain on a glass.
Practice, practice, practice
All of these tips will get easier and easier, the more you practice. The more you find yourself in tough situations, and the more you find creative solutions, you’ll keep learning.
A lot of these tips are what I’ve learned on my own through trial and error. I’ve needed to improvise while working in restaurants and for client shoots, while experimenting with different types of shots. The best thing you can do is start today.
You don’t need five-star restaurants or fancy equipment to be doing food photography. You can practice at home, with friends, and with food that you eat every day.
I’ve had some great moments of food photography in taking photos of my lunch, as long as I’m near a window and have plated the food so that it looks attractive.
You can find unique ways to add personality into photos of food and have a ton of fun along the way.
📷 Sharpening your photography with us?
We shoot, experiment and share the techniques that work, around the world. If these tips improved your shots, a coffee keeps us creating more photo guidance.
Support more photo tipsYou may also like
-
![Man taking photo in a mirror with a big sony lens.]()
33 Best Photography YouTube Channels To Follow
Can you learn photography on YouTube? If you choose to learn photography from the best experts and influencers on YouTube, chances are you will learn some tricks fast. Here are my favorite photography YouTube channels.
-
![Sony a7ii vs sony a7iii vs sony a7iii.]()
Sony A7 III Vs. A7 IV (Photographer’s Guide)
In comparing Sony cameras, I’m rating the Sony A7 IV vs A7 III, discussing the Body, controls and physical features, body style, Image capture & performance and EVF resolution.
-
![A row of red lockers on a white background.]()
It's always a good idea to backup your photos. There are so many options with external hard drives, services and tools. I personally like to do my photo backups with backblaze! It's a simple and easy way to make sure your files are safe.
-
![A group of people taking pictures with their cell phones.]()
14 Best Photo Storage Options in 2026
For the best photo storage options, I’m listing foolproof and trustworthy solutions for storing your photos, from cloud storage to hard drives and helpful apps as well.
-
![A man with a backpack taking a picture of a building.]()
23 Best Photography Backpacks in 2026 (Multiple Size Options)
This year’s best ideas for photography backpacks, include bags that fit laptops, photo bags that are great for travel, sling bags and photo backpacks for every type of photographer.
-
![A camera sitting on top of a wooden table]()
Best Travel Cameras: 8 Excellent Choices for Your Next Trip
Every year, cameras get better and better. But how do you choose the best travel camera? I did the research and found the best cameras for 2026!