How to Get Your Baby a Passport (Guide for Parents)
How do you get your baby a passport? I break down the steps for applying for your child’s passport, from taking your baby’s passport photo to securing a passport appointment nearby.
This article may contain affiliate links. We earn a small commission when you purchase via those links — at no extra cost to you. It's only us (Becca & Dan) working on this website, so we value your support! Read our privacy policy and learn more about us.
Table of contents
- Consider your timeline for travel.
- Take your baby’s passport photo
- Make your baby’s passport application appointment
- Start your passport application process
- Head to your appointment at the passport application location
- Track the progress of your baby’s passport application
- Conclusion
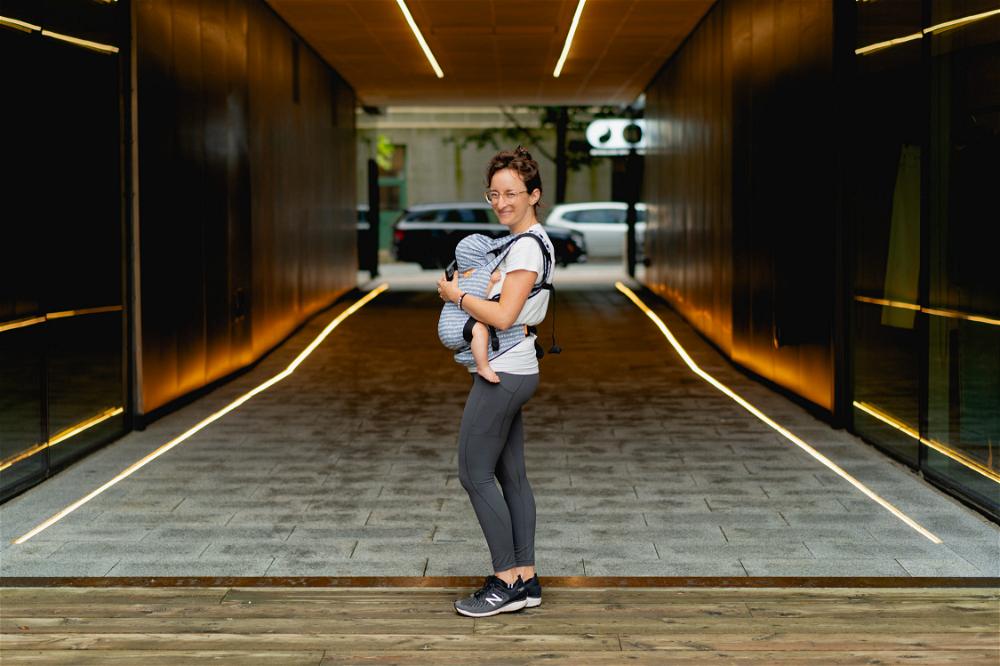
When our daughter was born, one of the first things we thought of was: let’s get her a passport as soon as we can.

Get our free guide to traveling with your 0-24 month old! 70+ pages of actionable tips from our family's adventures to help you travel confidently with your child.
In this guide, I’ll outline the steps we took to get a passport for our baby. Let me tell you: when it arrived, we laughed out loud because we had never seen a newborn photo on a passport before. It’s the best gift you can give your little one for sure!
You can head right to the page at the US Dept. of State website about all passports for children under age 16. We’re breaking it down for you below, based on what we did and how it went.
Let’s dive in.
Consider your timeline for travel.
For us, we simply wanted our daughter to have a passport “in case we decided to book that first flight with our infant.” But for some families, there’s already a trip in mind, with dates planned to a great family-friendly destination.
This is when considering your timeline comes in handy.
The US State Department goes through cycles of being backed up with passport applications and really backed up with passport applications. We were lucky that we applied before things got “more backed up.”
We chose to expedite our baby’s passport application and looked into the fees for that. If you have the budget, expediting can somewhat ensure that the passport will come sooner, but I suggest looking into how fast that really will be.
When we applied, the standard turnaround was 8-11 weeks and expedited service was about 7 weeks. Sure enough, with expediting fees, we got our baby’s passport in 7 weeks from the date of our appointment.
The most updated processing times can be found at travel.state.gov website.

Take your baby’s passport photo
Here’s where you have some options. For babies, there are some kind of strict rules on photos, but you actually are welcome to do the photos on your own (we did).
First option: get your baby’s photo taken professionally
At some passport application sites, you can get your baby’s photo taken by the county clerk office or participating USPS offices.
Also, pharmacies like CVS not only take adult passport photos in the photo department, but also take photos for babies and children.
There’s almost always an additional fee for taking the photos. It can range from $10-$20, but there’s no set price as any establishment is free to charge whatever they want.
We opted to take our own photos because (1) it’s not that hard, and (2) we were still a little nervous about taking our (then) 4 week old to a pharmacy. We didn’t know any better!
Second option: take the photo on your own at home
Consider that newborns and babies are really hard to take photos of. When we take photos of our daughter, we take like 10 or 20 photos of her doing something normal like playing with a toy, so imagine how many photos you have to take for something official like a passport!
We didn’t even consider going to a passport agency site or a pharmacy for our baby’s passport photo. Well, that’s because I thought it would be a fun experiment, and because Dan knows how to edit photos (you can see all Dan’s photography guides at our photography advice section!).
I spent quite a bit of time going through the passport photo requirements for babies and pretty much made a mental list. I also talked to friends who had experienced their babies’ photos getting rejected, so I got a little scared. Here are the best tips and requirements for taking your baby’s passport photo at home:
Quick checklist
- Your baby must be alone and their eyes must be open, mouth closed, no clothing accessories, no/limited shadows and on a white background.
- Once you have your photo, you can use this photo tool to help crop your photo.
- You can make an image collage with this website.
- Upload your photo to CVS, Walgreens, Target or anywhere else that does a single 4x6 photo print.
- Cut out a single 2x2 square off of the 4x6 for your application.
The baby’s eyes must be open.
Yep, this is why you have to snap about 100 photos on your phone. Both eyes have to be open and the baby should be looking at the camera.
The baby must not have anything on their head or in their mouth.
There are no headbands, hair clips, hats or baby head wraps allowed. Also, no pacifiers.
The baby’s mouth must be closed.
For this one, I was like, seriously? But yes, the baby’s mouth has to be closed. So now you have to have a baby with their eyes looking right at the camera AND their mouth has to be closed.
There can’t be any shadows on the face.
With this one, make sure you aren’t casting a shadow on the baby’s face with your phone. Go into an evenly lit part of your house to make sure there aren’t any shadows from surrounding objects.
The background must be white.
For this, we used the back of one of her baby blankets that was clean and white. The only challenge is, if the baby moves, the blanket wrinkles. So, this was where Dan was able to Photoshop the wrinkles out of the final photo I took on my phone.
For most cases, you shouldn’t need to Photoshop your photos. We did it because it was convenient. You can hold the blanket or white sheet down with something weighted around the edges to help prevent some of the wrinkles.
No adults in the photo.
The baby must be alone in the photo, laying on the white blanket or whichever white background you come up with. You can’t have any hands or feet from the parent in the photo.
For the full official list of guidelines, see this page at travel.state.gov.
Make and print your photo
This photo tool is a government tool that will automatically crop your photo and generate a 2x2 photo for you. If you’re savvy with image editing, you can create a 4x6 inch canvas and overlay your automatically cropped photo onto the canvas. You can fit 3 images across and 2 images down.
Photoshop, GIMP, Photopea and Canva are all great options for creating your photo.
If you want a tool to generate the image for printing, check out this website. We tried a few other websites that did this and they all seemed sketchy. Dan made this tool that easily creates a 4x6 image with your 2x2 passport photo.
Once you have your generated 4x6, you can go to Walgreens, CVS, Target or anywhere else that has a photo printing service near you. Amazon actually has a photo printing service that you can check out if you want it delivered.
When you have your print, you can cut out one square, and that’s what you’ll use for your passport application. We gave the leftover squares to the grandparents, like school picture day!
Make your baby’s passport application appointment
We lucked out that we were able to get a passport application appointment within a week of when we wanted to get the ball rolling on the whole process.
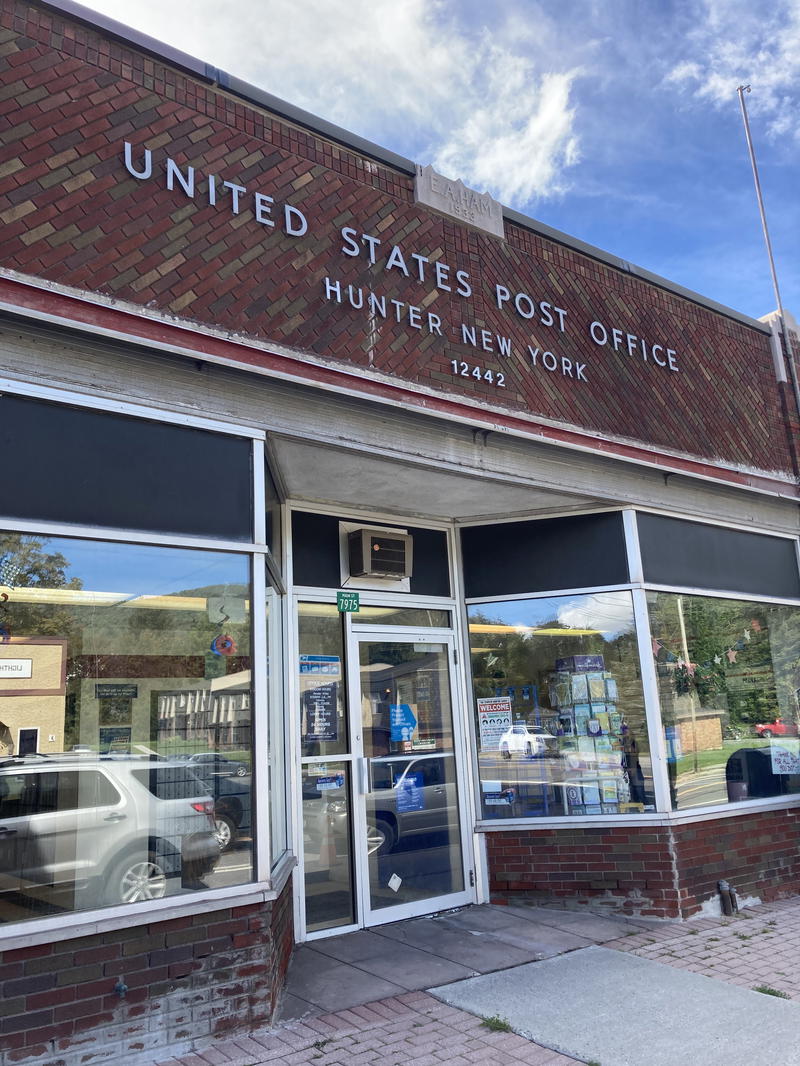
Use this page on the US Department of State website to insert your zip code and search for the 10 closest passport acceptance facilities near you. For us, once we inputted our zip code, we received 10 options. We chose the one we liked the best, which was a post office not too far away!
As a bonus, you can also tick a box that can help you find a passport application center where photo opportunities are available.
If your passport application site is a post office like ours was, use the location finder tool at the USPS website to find that post office branch, and scroll down to “Passport Appointment Hours” and choose Schedule an Appointment.
Alternatively, you can go right to the Passports page at USPS and then schedule an appointment.
Start your passport application process
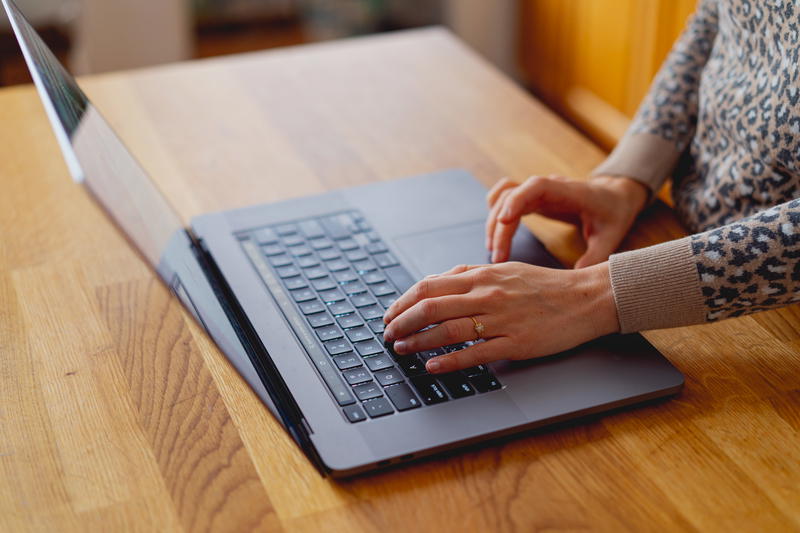
The process isn’t too lengthy, and starts with filling out an application that you have to print.
Fill the application online or print it
The application form is in a PDF here and you can also fill the application with the online form filler, and then print it.
Things to keep in mind:
- You have to have your child’s SSN ready.
- Figure out how tall they are. Our daughter was 1 foot, 10 inches, which felt hilarious to spell out on an official government document.
- Use this page to make sure you are acknowledging all requirements.
- DO NOT SIGN THE APPLICATION UNTIL YOU ARE AT YOUR APPOINTMENT.
Bring proof of citizenship for your baby
Bring your baby’s original birth certificate in a folder with everything else you will collect. If your baby was born abroad, reference the main passport requirement page linked above.
Photocopy the baby’s proof of citizenship
DO NOT SKIP THIS STEP. The morning of our appointment, we realized we hadn’t made photocopies of any of the required documents and we luckily were able to use a copy machine in our apartment building’s leasing office. It was very stressful. Take care of this well in advance of your appointment.
Bring proof of the parent’s/parents’ relationship to the baby
This can be the same as the birth certificate being used to prove citizenship. Remember: if using the birth certificate for this purpose, it must be the original. You also have to bring a photocopy of it in addition.
Bring parent’s/parents’ ID as well as photocopies
After realizing we had forgotten to photocopy everything, I decided to go somewhat potentially overboard and photocopy both my and Dan’s passports, along with both my and Dan’s drivers licenses.
There is a list of possible valid IDs to use at the main page for passports for children under 16.
“Show parental consent”
Not only were we consenting for our baby to obtain a passport, we were absolutely going for it. The easiest way to “show consent” is to go physically in person to the baby’s passport appointment. If there are two parents, they both must go. If one parent cannot go, there are additional forms to fill out.
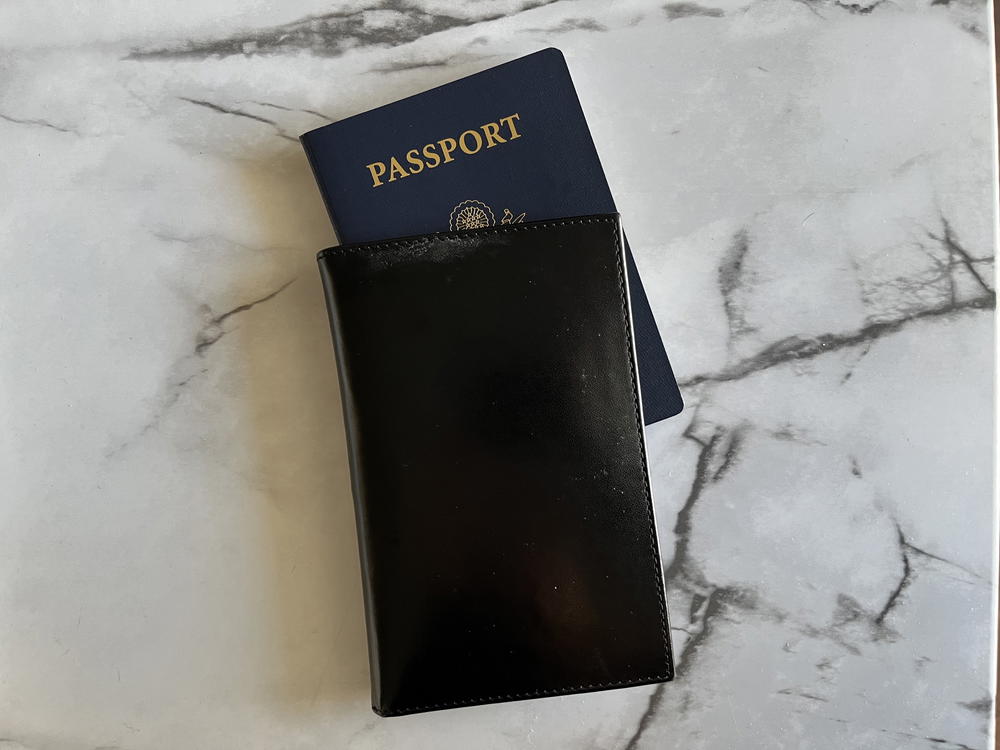
Bring that baby passport photo
One tip from the website is to NOT attach or staple the baby’s passport photo to ANY forms. Make sure you don’t do this! Keep everything in a simple folder.
Look at the fees you will owe via check
Currently, there is a standard processing passport fee, an acceptance fee (basically a processing fee) and if you are expediting, there is a separate expediting fee. I think we wrote two or three checks at the time of concluding our appointment. At that point I was like, whatever, this is costing a lot and the US Dept. of State can take our money.
Don’t forget your checkbook on the date of your appointment.
Head to your appointment at the passport application location
As our passport application site was a post office, we left home with lots of time to spare, and arrived early. We started to wait in a regular line, and then I piped up that we had an appointment and the line wasn’t moving. We got taken in a few minutes by a person working at the counter who was handling special appointments that day.
The appointment itself was about five minutes. I think we presented ID, and had all our paperwork checked. The USPS staff-person took our photocopies, and the application and our baby’s photo. I think they actually may have taken two copies of the photo, so it is good to bring two. Maybe I’m imagining it.
Wow, you’re done! Now you get to track the progress.
Track the progress of your baby’s passport application
There is a web page at which you can track the progress of your baby’s passport. For ages, it said “pending.”
I created a calendar event in Google Calendar for myself that reminded me each week to check the progress. I think I checked twice, and then ignored it. Honestly, before I knew it, we got a nondescript large envelope in the mail and there was our baby’s passport book inside of it. There was no other paperwork or confirmations or anything. Just a passport in a mailer envelope.
As soon as we opened the passport, we laughed so hard because it was then about seven weeks after we had taken the photos, and our baby had grown a ton! She looked so tiny and young in the photo, and it looked almost ridiculous that the photo in the passport booklet was of an eight-week-old newborn. We took photos of it and sent it to friends and family and they thought it was equally hysterical.
Conclusion
And that, my friends, is how we got our baby a passport. I should note that baby and child passports are only good for five years, so lucky her — we’ll have to get her a new passport when she’s five. This is similar to a Global Entry account for a baby, toddler or kid. To see more on that, visit my guide on how to get Global Entry for a child.
Until it expires, her passport is going to have a photo of when she was eight weeks old. I hope she thanks us for it.
✈️ Did our travel tips help?
We share honest, experience-backed advice to help you with smoother trips. If our suggestions saved you time or stress, treating us to a coffee lets us keep researching the next post.
Fuel more travel adviceYou may also like
-
![]()
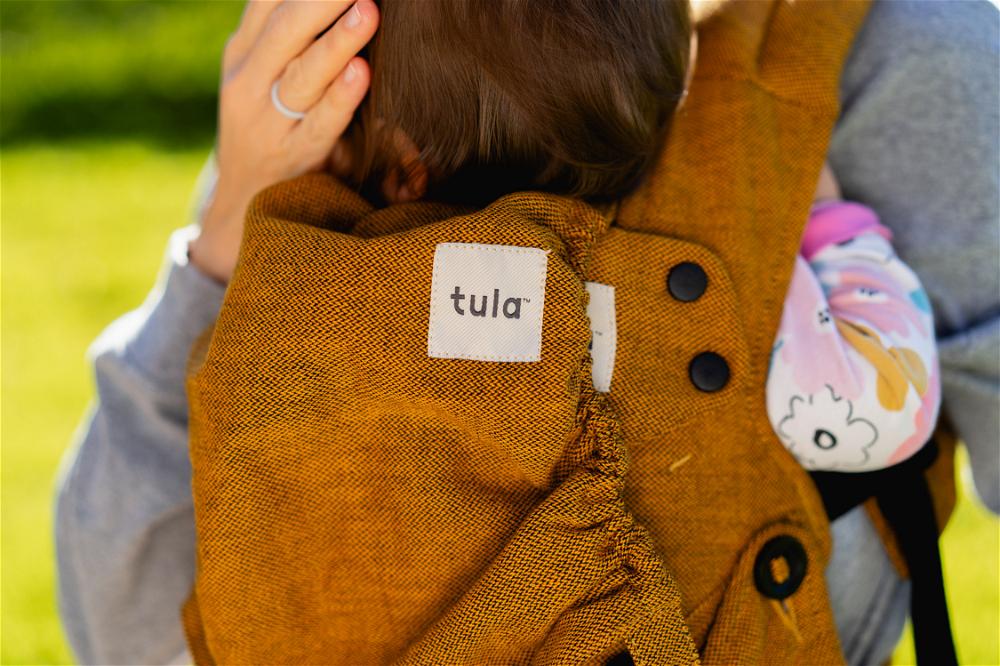
Baby Tula Explore Carrier Review: Sturdy, Comfy and Supportive
I tested one of Baby Tula's most popular baby carriers, the Explore Carrier, because I wanted a front-facing carry option for my baby. Read my review, and find a discount code inside.
-
![]()
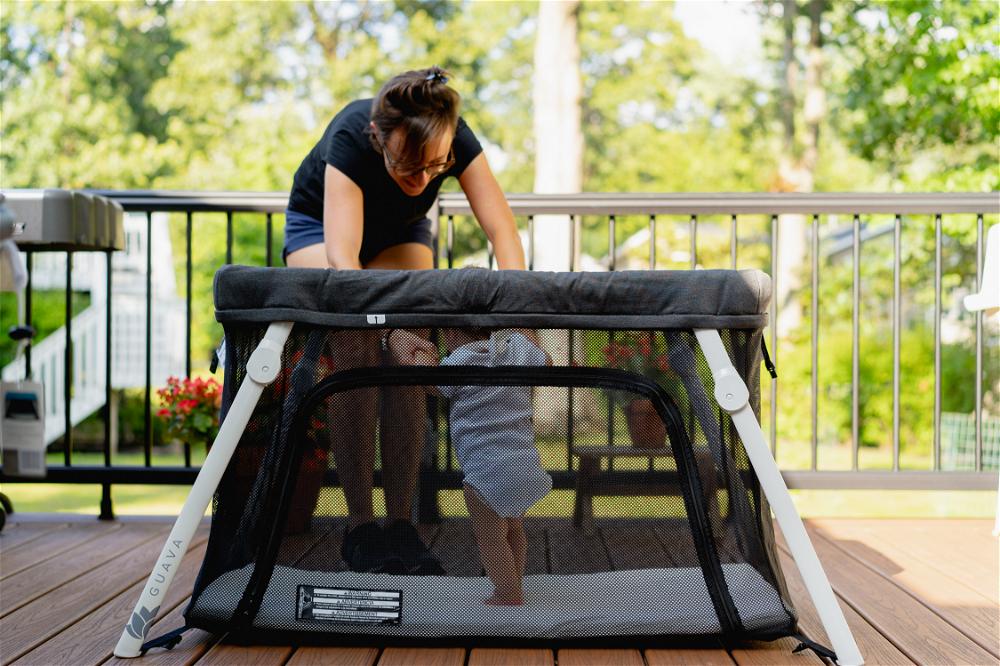
Guava Lotus Travel Crib Review (and Bassinet Conversion Kit!)
We travel with the Guava Lotus Travel Crib, and it has made taking family trips a breeze. In this review, learn all about our experience, as well as what the Guava Travel Bassinet is.
-
![]()
4 Best Hiking Baby Carriers: What to Know about All the Main Brands
When it comes to baby and toddler hiking carriers, there are only 4 brands to consider! In this review, I break down the differences in these products so that you can make an smart choice.
-
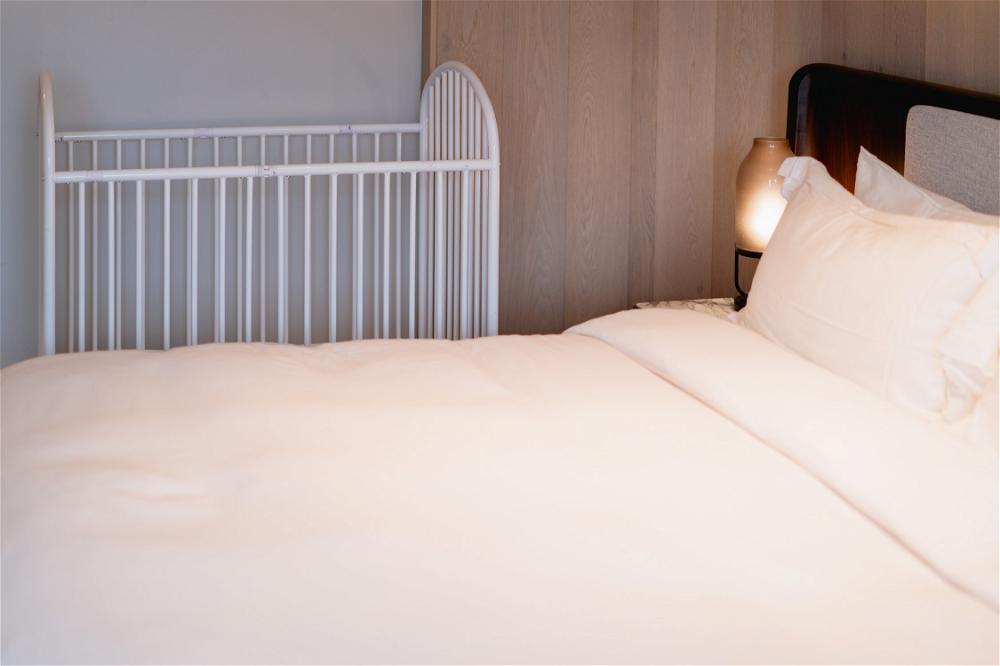
![A white crib in the corner next to the bed at the Muir Hotel in Halifax.]()
21 Tips for Staying in a Hotel with a Baby (Experienced Parents)
How do you survive staying in a hotel room with a baby? From my experience, I list the top tips and tricks for sharing a hotel room with an infant on a vacation.
-
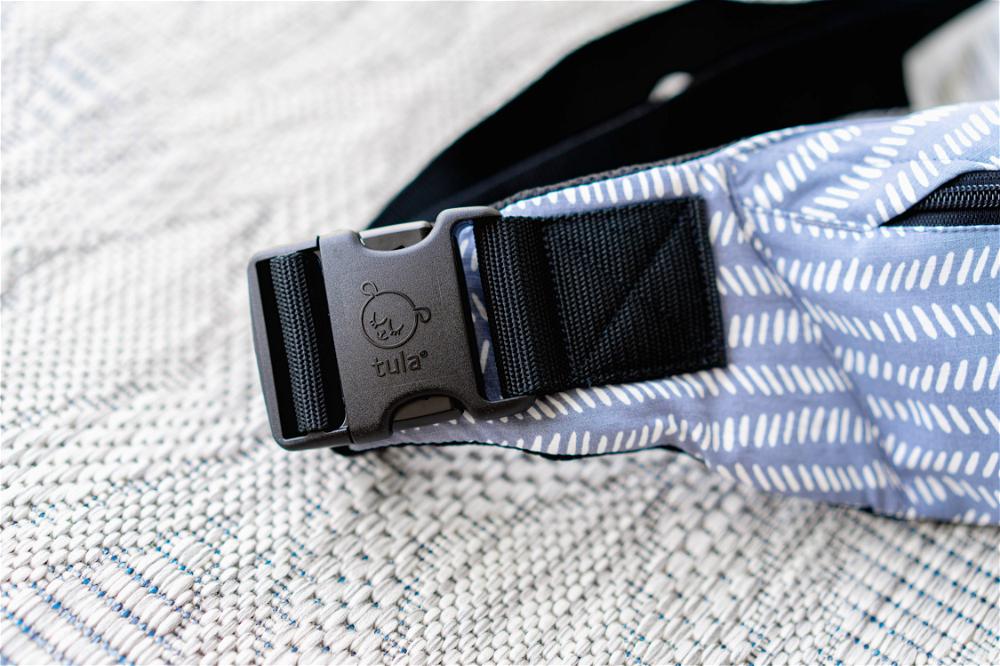
![A close up of the buckle on the baby tula lite carrier.]()
Baby Tula Lite Baby Carrier Review: Lightweight and Compact for Travel
I review the Baby Tula Carrier Lite as a travel product for babywearing during trips. Find out the special features that make this lightweight baby carrier ideal for on the go.
-
![]()
16 Best Family-Friendly Places to Travel in 2026 (from Real Parents)
Looking for vetted vacation ideas for family-friendly trips this year? Look no further than my list of destination ideas from some very travel-savvy parents I know!